
Multiplatform Engine for Nokia Jam 3310
In September 2026 I participated in the 8th Nokia 3310 Jam, my entry Trick Shot II placed 1st out of 51 entries.
The Jam’s goals were to make a game as if it were being made for the Nokia 3310. The general restrictions were:
- The game’s draw region is a monochrome 84x48 pixels
- Audio is limited to what is possible with a Nokia buzzer
- Only one audio track can play at a time (a Nokia 3310 only has a single buzzer)
- Game controls are limited to 12 buttons - mouse input is only valid if interacting with a virtual keypad
Coming into this project, I was interested in making a game with ebitengine - a 2D game engine for Go.
However, I had also recently learnt about tinygo a go compiler for popular embedded devices.
Prior to the Jam, I built a simple game engine which uses ebitengine for desktop/web targets and tinygo for embedded targets. The source code of this engine is at https://github.com/hoani/3310_engine.
Custom Nokia PCB
When this project started, I did not have a 3310 phone. Instead, I wired up a hobbiest PCD8544 LCD, buzzer and keypad. The wiring looked like:
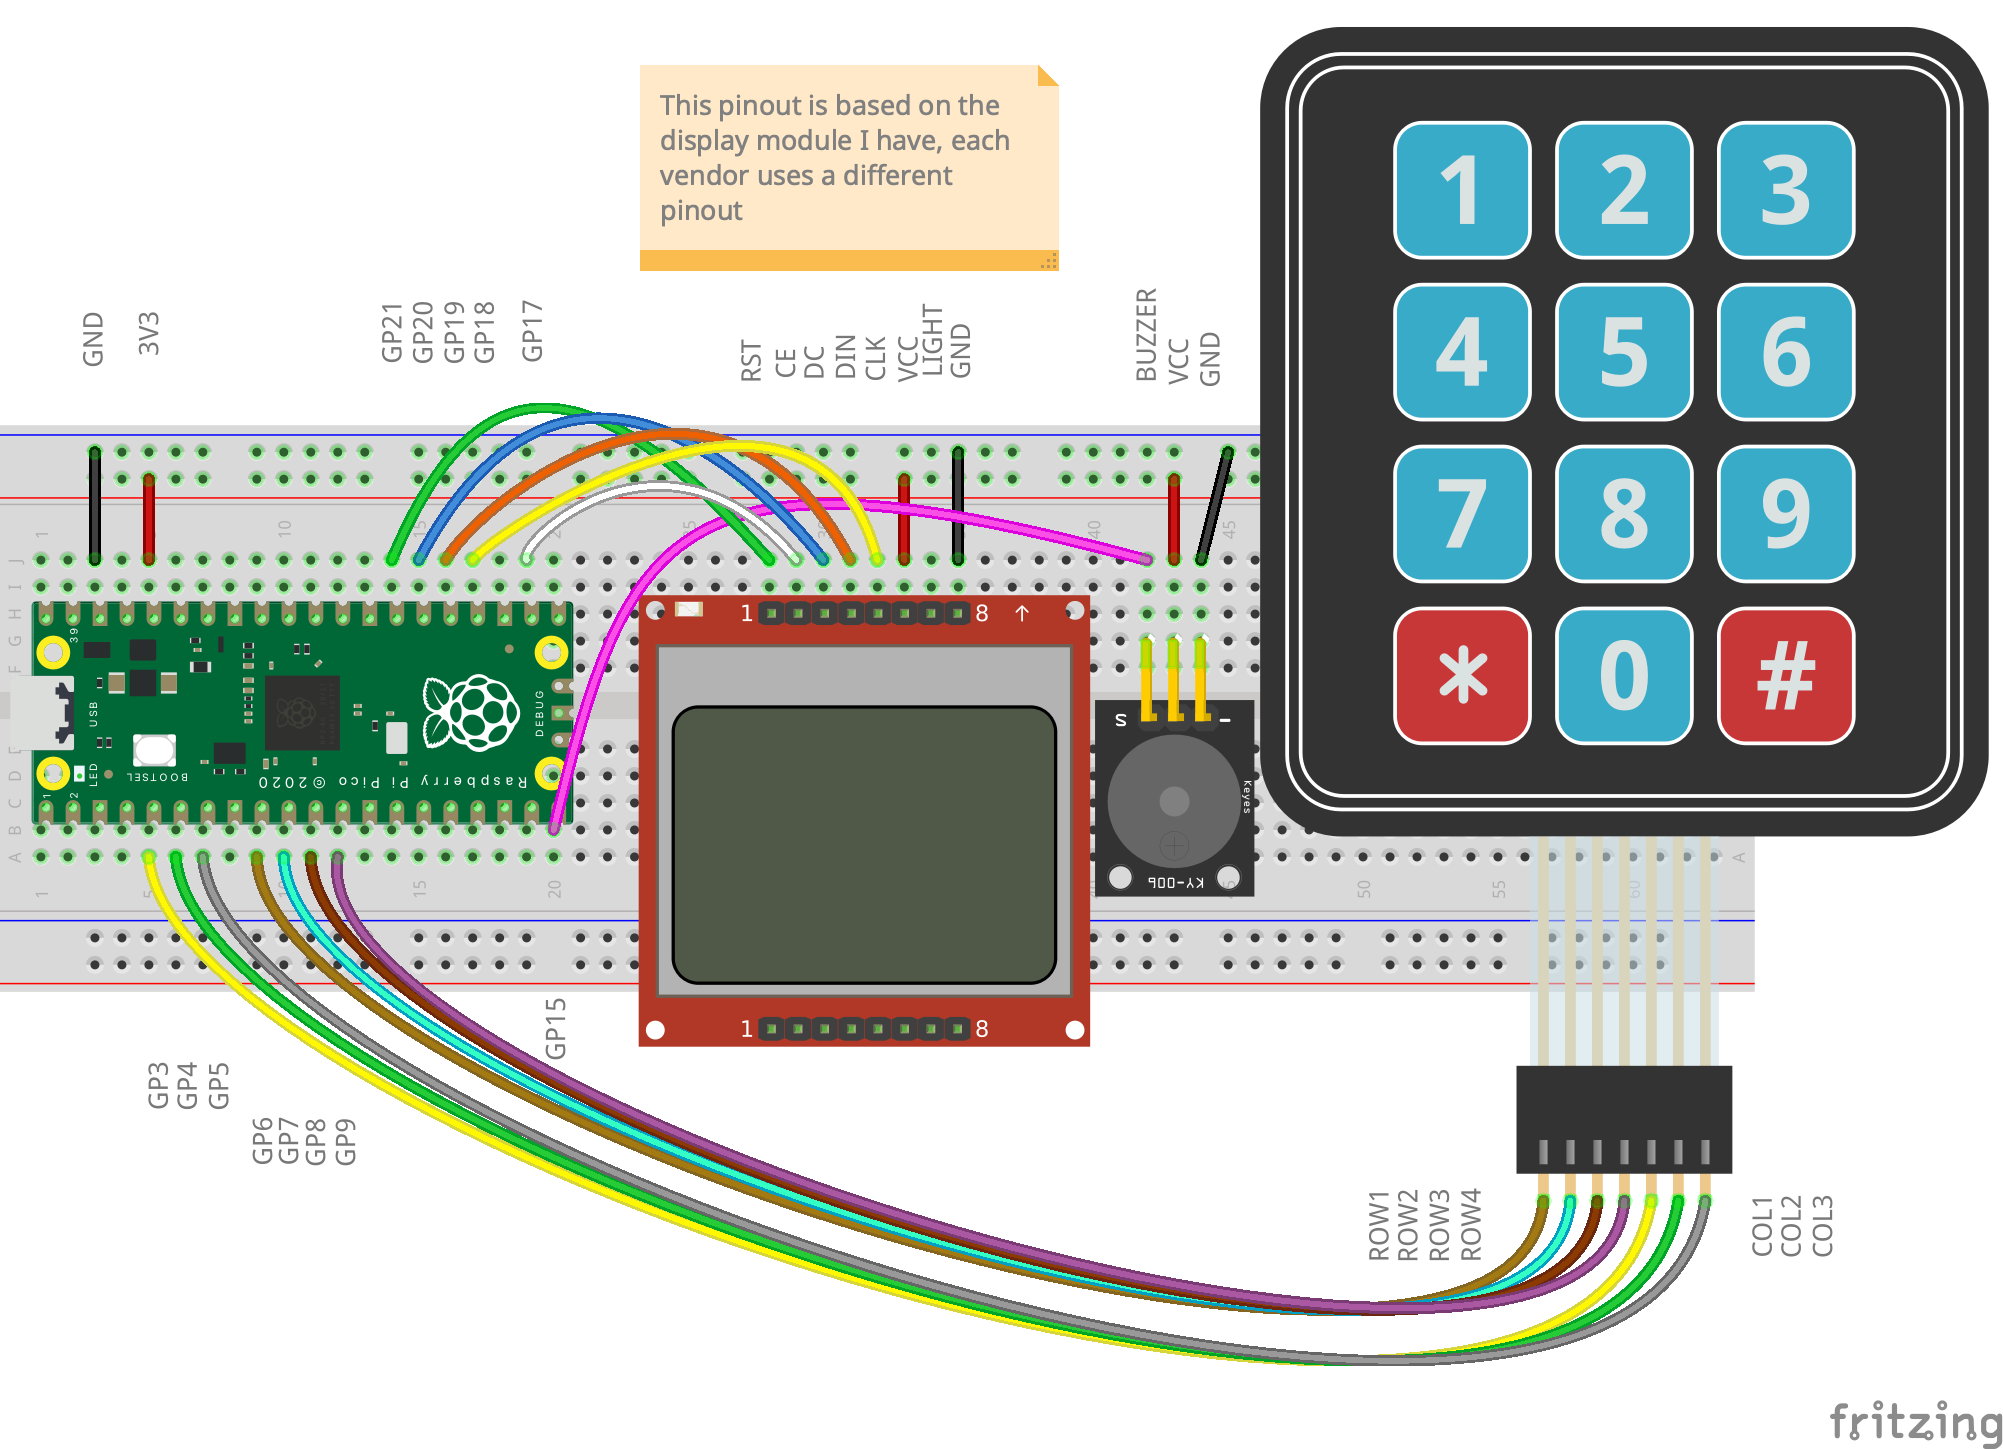
This configuration uses the same pinout as the custom hardware I ended up designing for the 3310 phone.
Once I managed to get a 3310 phone, I tore it down and determined how it works. See see 3310 teardown for more details.
All of the mechanical aspects of the PCB - the outline, press-fit pads, LED placement, Keypad placement were all determined by eye-balling the mm marks on a 20cm ruler.
The custom PCB I designed arrived 3 days before the jam started. I hand soldered the first version which is pictured below.
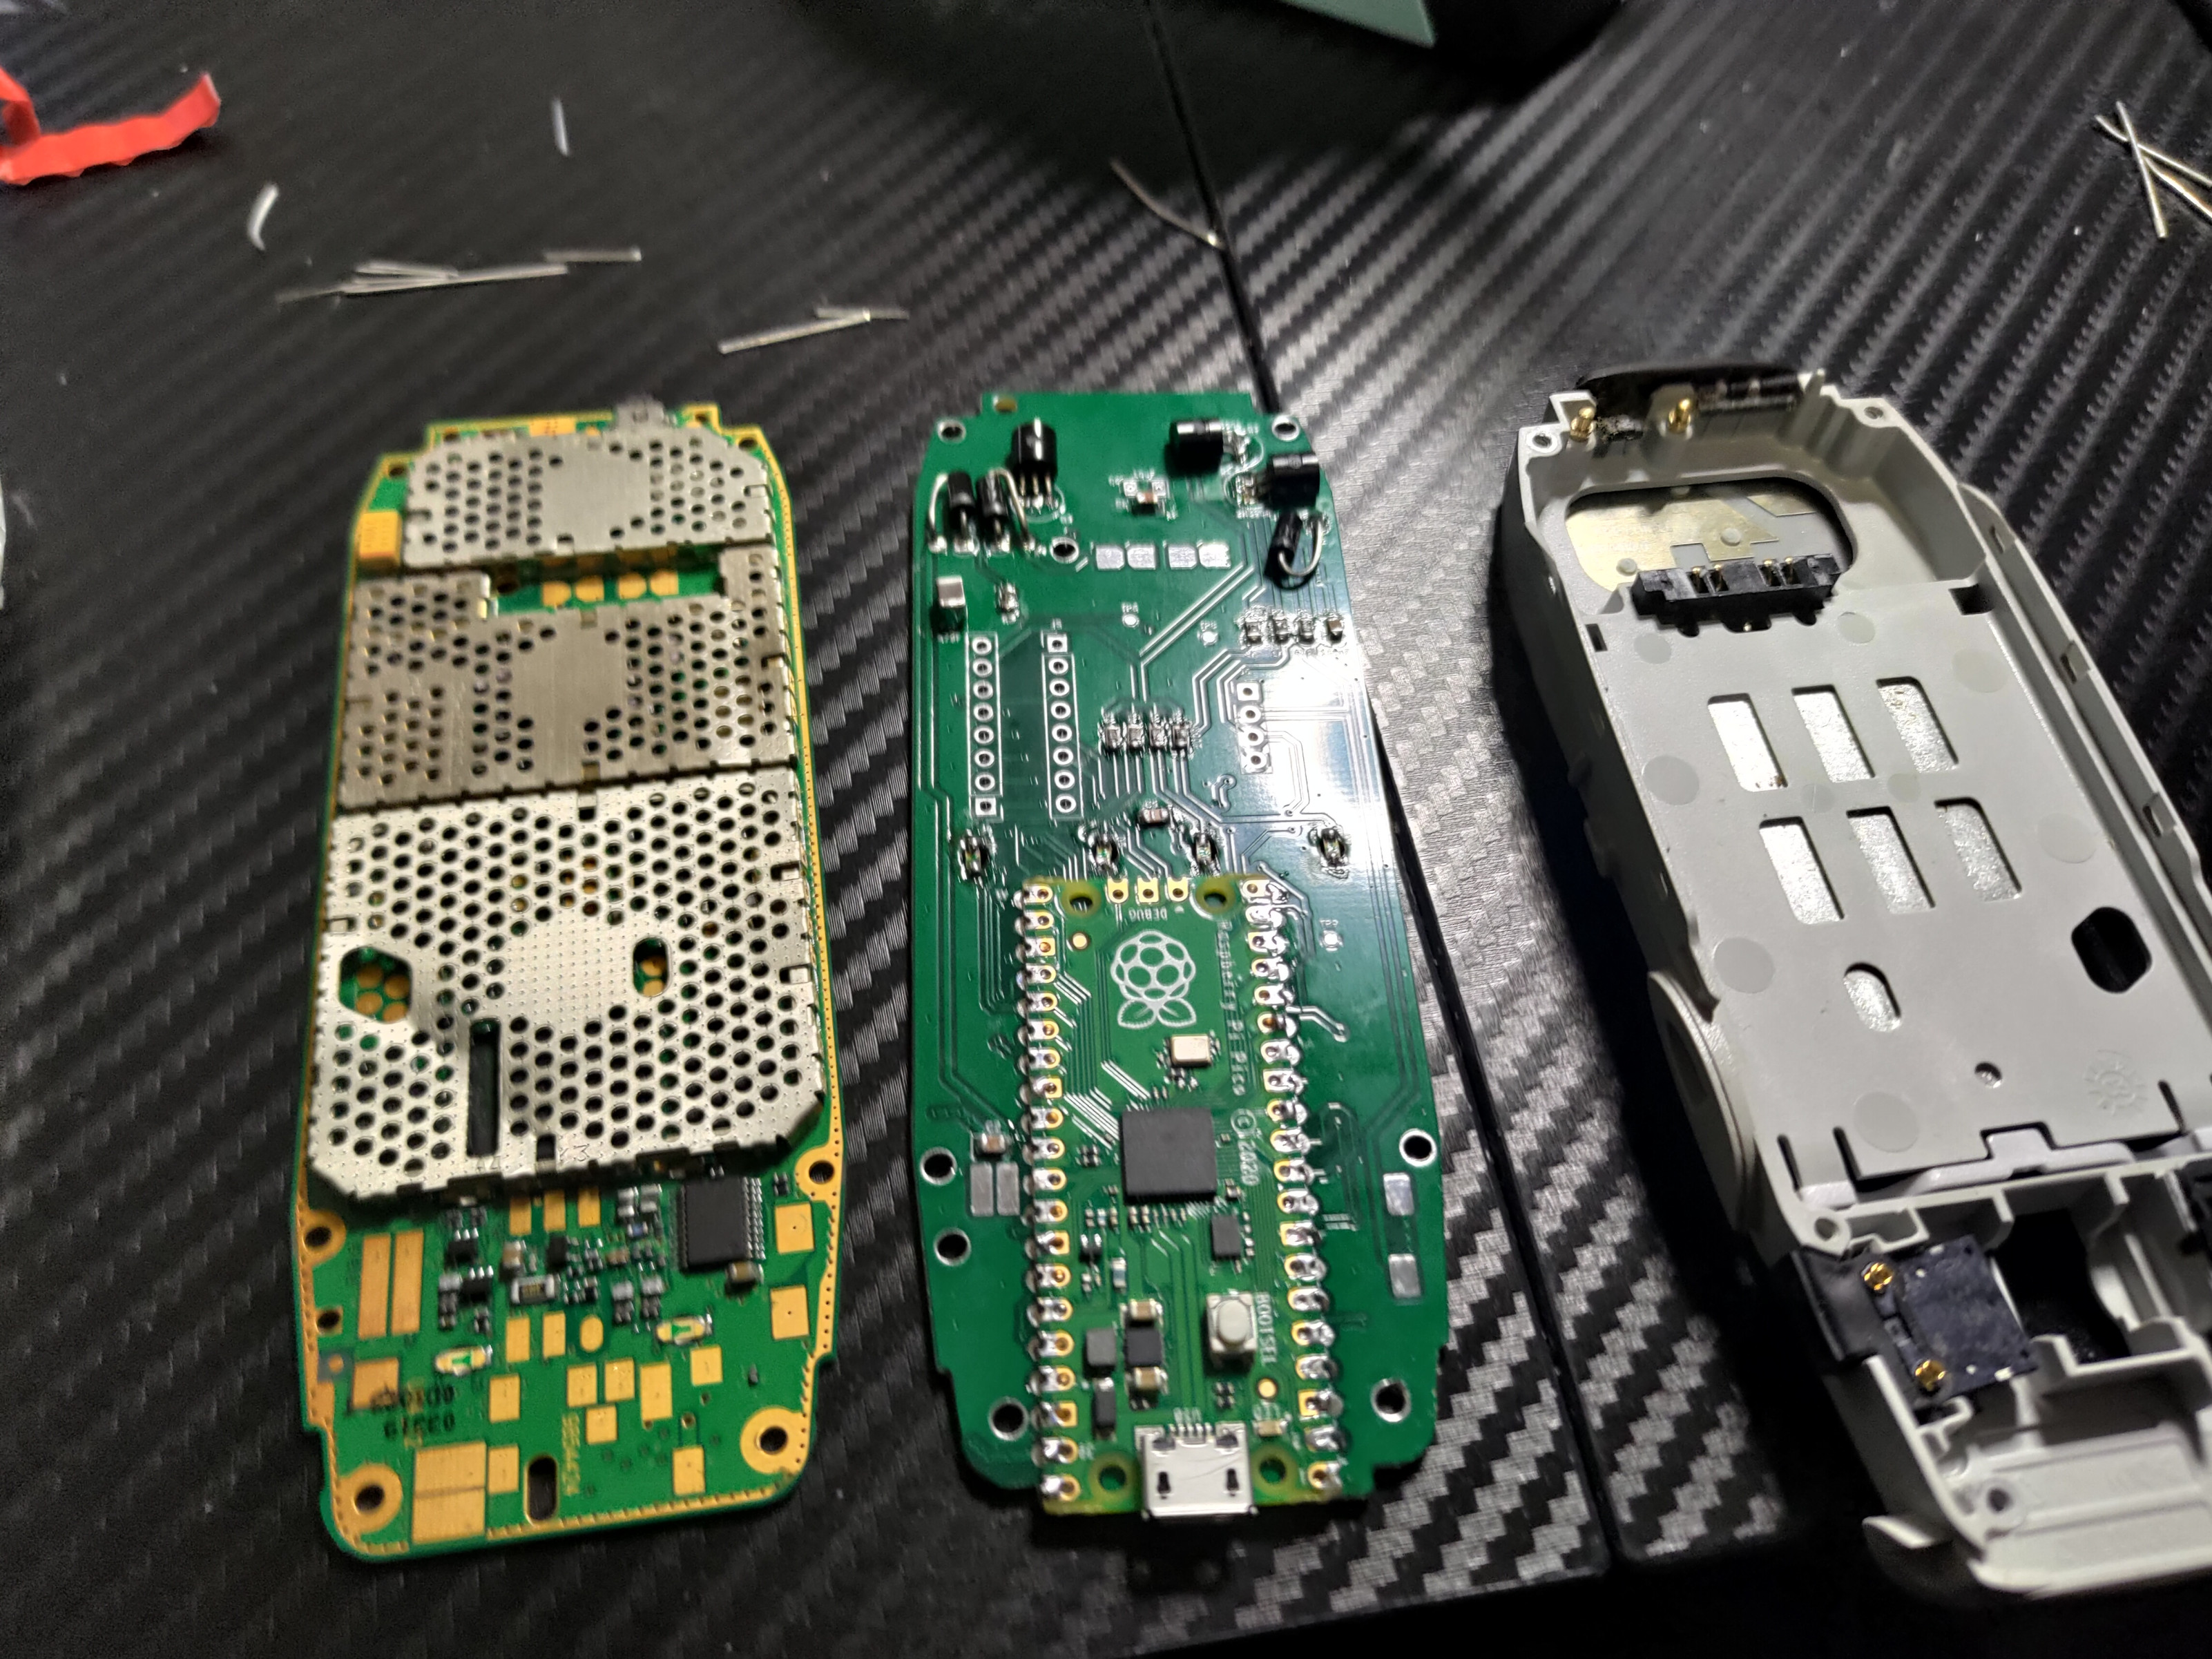
I had made a couple of mistakes:
- The ridges at the bottom of the PCB were incorrectly measured
- I used a dremel (while wearing PPE) to grind these down
- I ordered a 1.6mm PCB instead of 1mm PCB
- The phone cover won’t clip on nicely unless the PCB is 1mm
- For what I needed, this was fine, just annoying
Later revisions of the hardware removed these issues. See the github repository github.com/hoani/3310_pico for the current PCB design.
Custom 3310 Engine
In order to play Trick Shot II both in browser and on hardware, I built https://github.com/hoani/3310_engine.
The engine consists of two key libraries:
- Engine API
- These are the libraries used to make a game
- Platform abstraction
- This handles all platform specific logic so that the engine behaves consistently on both hardware and desktop.
Engine API
The engine API’s foundation is similar to ebitengine (because I like ebitengine’s design). It requires the user to provide a struct which implements:
type Game interface {
	Setup(Platform)
	Update() error
	Draw(canvas Canvas) error
}
Setupis an opportunity to access drivers for theKeypad,SoundPlayer,Displaycontroller etc.Updatecontains the game’s per-step logicDrawallows the game to draw on a 48x84Canvas
Drawing API
The drawing API handles common drawing tasks:
- Text
- Shapes
- Sprites
- Dithering utilites
Drawing Text
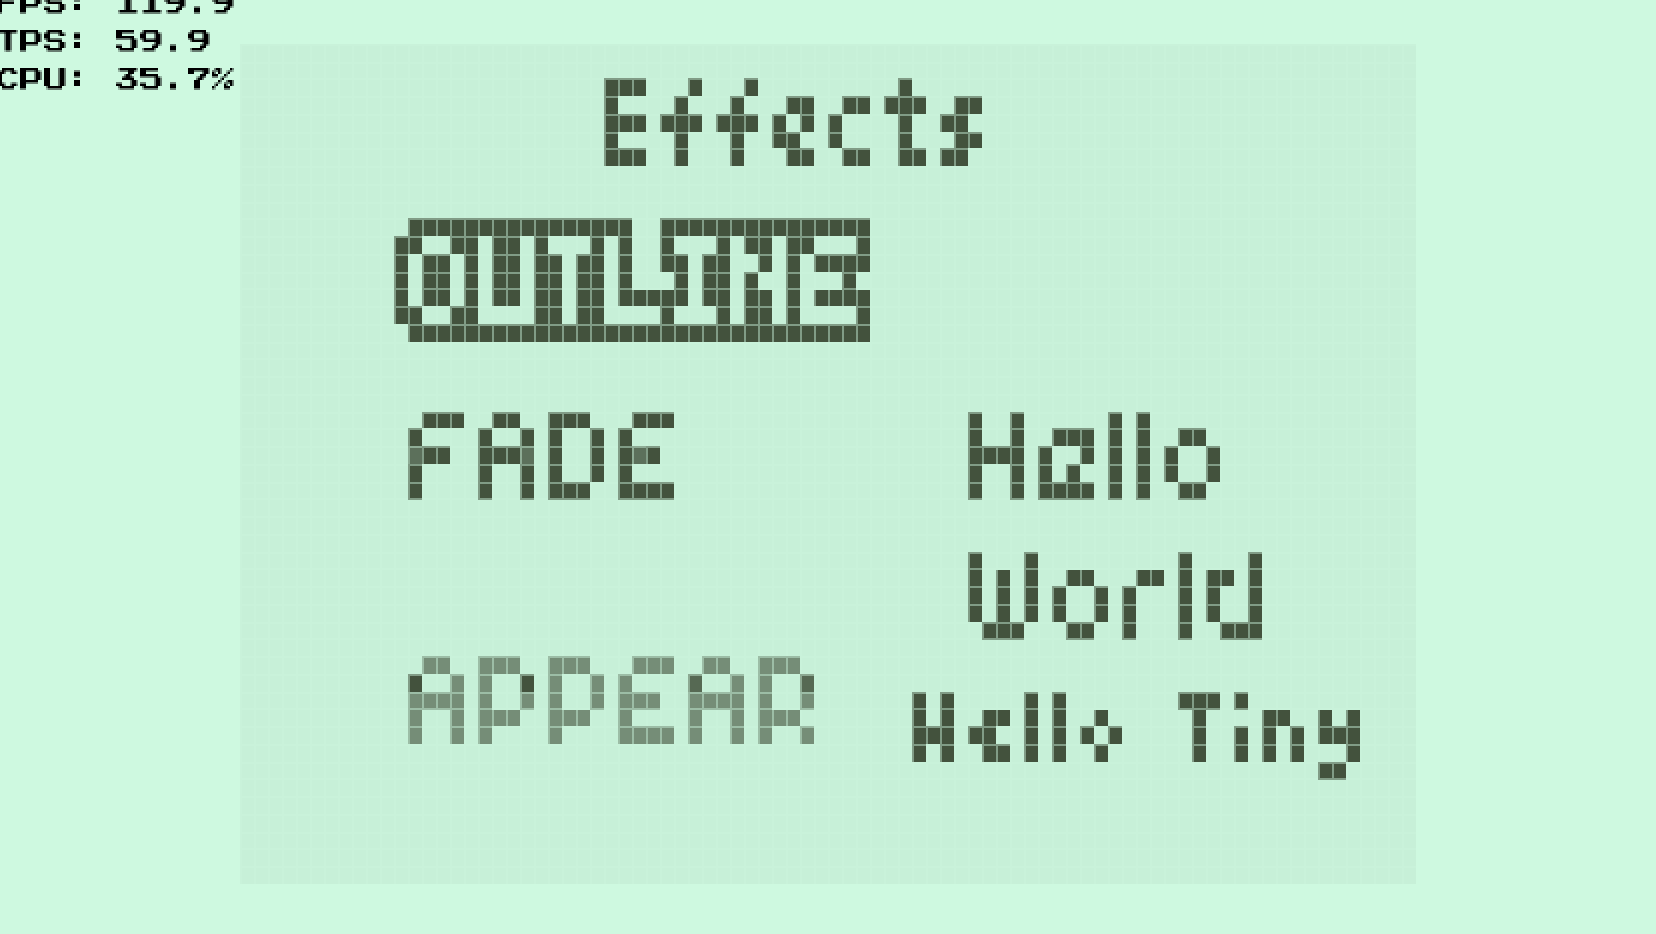
Text is handled using tinyfont - a library which is part of tinygo and can be used in any go application. This includes a generator tool which converts ttf/otf files into binary data so that it sits in the programs ROM.
Tinyfont’s methods are wrapped to match the rest of the 3310 engine’s APIs.
Drawing Shapes
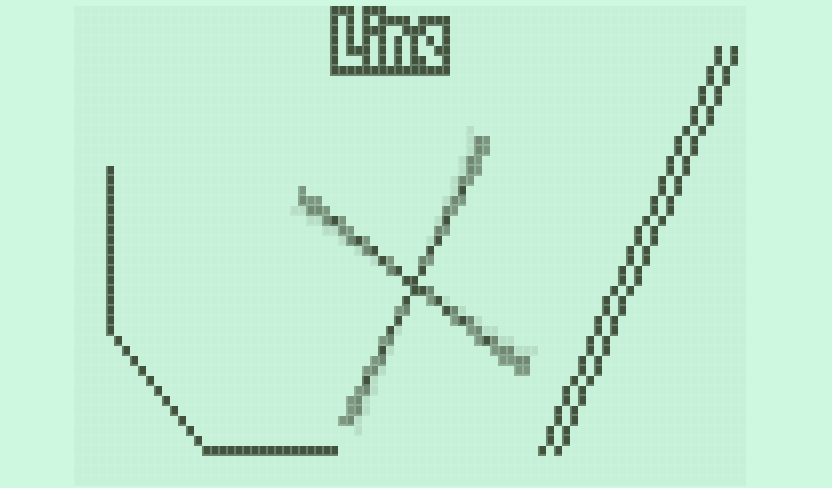
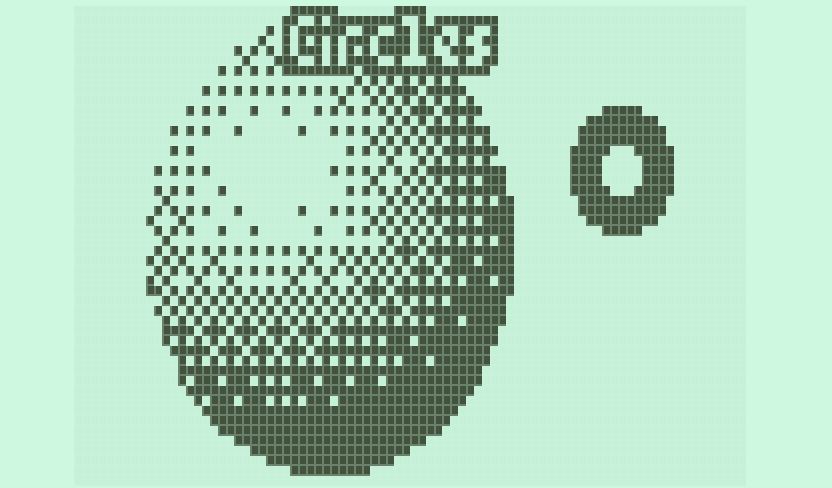
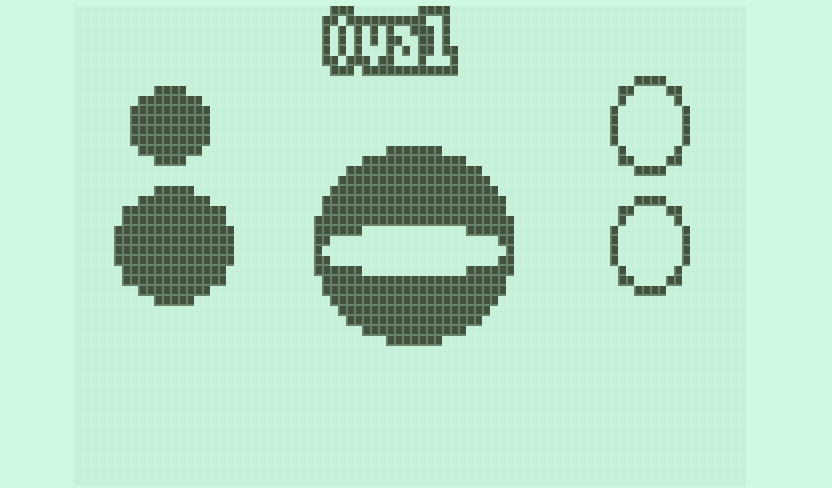
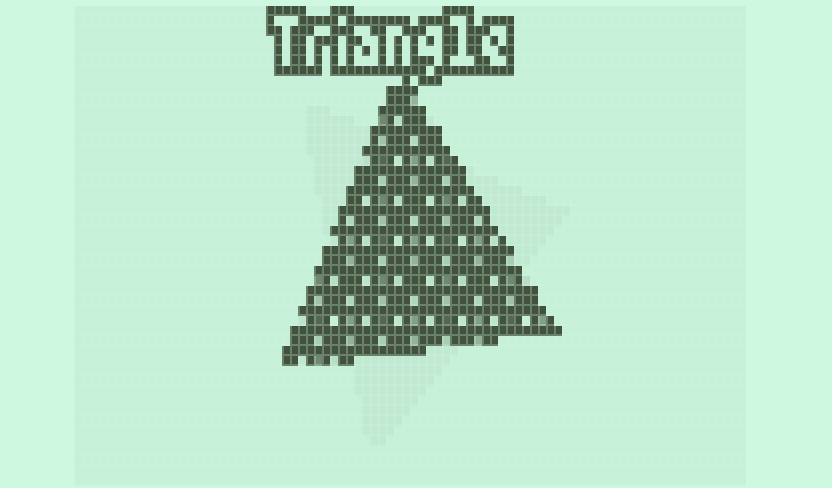
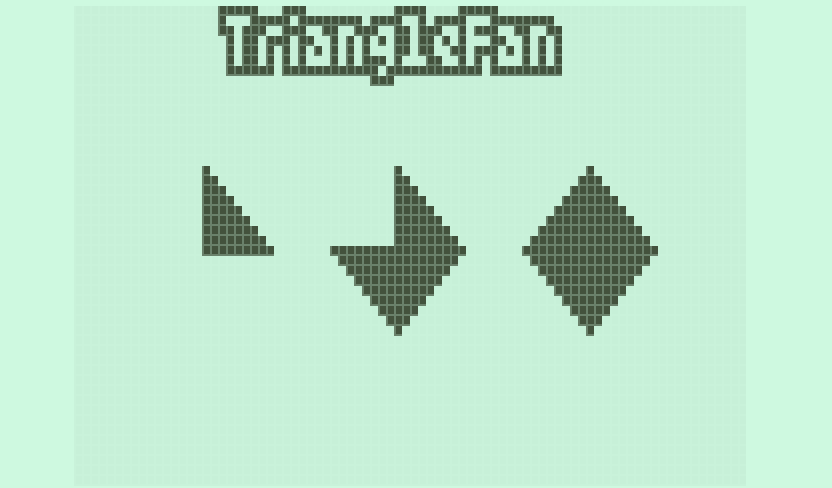
Various shape primitives are available in the API. The gallery below shows a few of them, some with interesting effects such as a dithering gradient on the circle.
 |
 |
 |
 |
 |
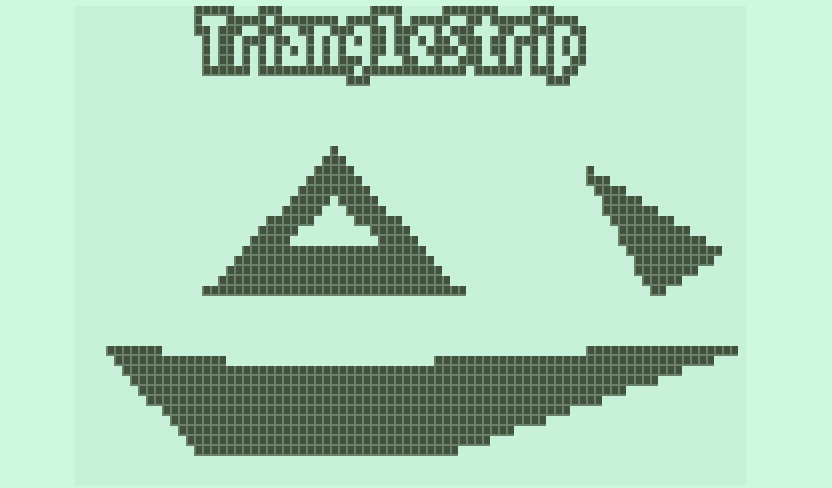 |
The Triangle Fan and Triangle Strip APIs are based on primitive drawers in gamemaker which can be very useful when drawing arbitrary shapes.
Drawing Sprites
Similar to text, the engine is designed to embed sprites directly into ROM rather than load them into RAM. This rules out image formats like GIF, PNG or JPEG which perform compression so would require some processing into RAM to render.
Instead the engine uses pbm image formats to efficiently represent sprites in one of two formats:
- Grayscale (with an alpha value)
- rendered via dithering
- Monochrome
- a single monochrome image writes directly to canvas
- two monochrome images can be used to represent color + transparency
More details are written up in the Efficient Image Embedding post.
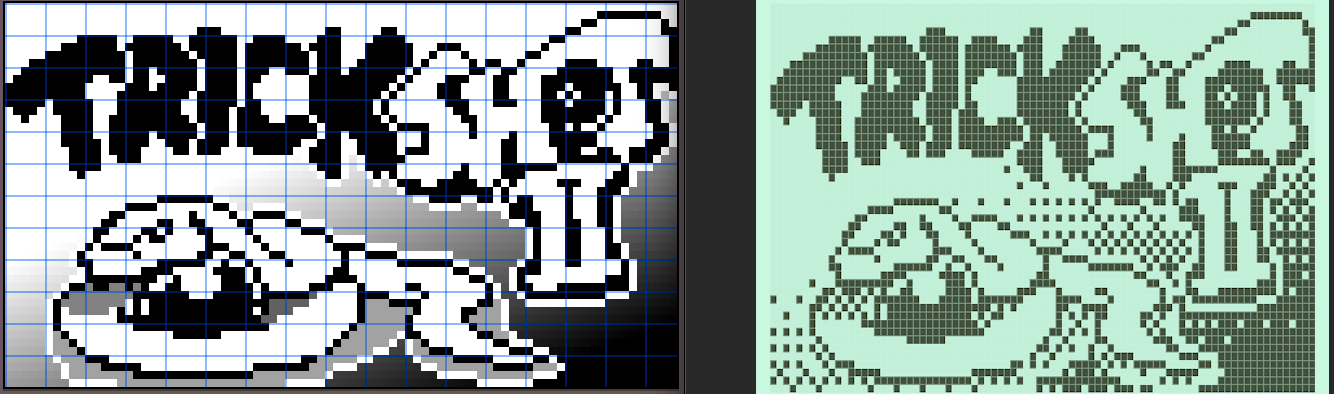
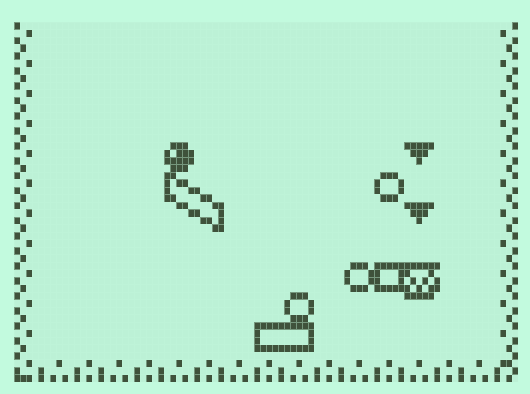
The Trickshot title screen is an example of using a grayscale sprite which implements dithering for various gray values. Levels in trickshot are entirely made up of monochrome sprites.
 |
 |
A conversion tool png2pbm converts pngs to either grayscale or monochrome images to embed in a project. The engine’s API handles strip images so a sprite may have several frames.
Dithering
Dithering is a technique where in-between colors on a color-limited pallete are represented by interlacing colors.
The engine uses a threshold map over an 8x8 grid to determine if a value between 0-64 should be colored or not. 0 being completely transparent and 64 being solid.
The threshold map used is the \(M_8\) map in Wikipedia: Ordered dithering.
Audio API
The basis of the Audio API provides a Note sequence which makes up a Sound.
The interfaces look like:
type Note interface {
	Frequency() float32
	Index() note.Index
	Amplitude() uint8
	Duration() time.Duration
}

type Sound interface {
	Reset()
	Next() Note
	Done() bool
}
The engine provides a bunch of preset Notes from C0 to B8. However, because we use a buzzer, notes below C3 just sound like a series of ticks since they won’t resonate in the buzzer.
A conversion tool midi2go converts midi files to the Sound interface. However, it assumes the input midi is only one track. A PWM driver Buzzer only has one channel.
Input Commands
User input is managed through a Command interface:
type Command[T ~int] interface {
	Pressed(cmd T) bool
	Released(cmd T) bool
	Check(cmd T) bool
	PressedAny() bool
	ReleasedAny() bool
	CheckAny() bool
}
I have used this pattern in other game engines too. When constructing the commands, we register a check method:
func (c *CommandImpl[T]) Register(cmd T, check func() bool)
A command may have one or more check methods registered. Our game logic can then query whether a key has been pressed, released or is currently active.
Platform Abstraction
The goal of the platform abstraction is to allow us to make a game which executes consistently on all platforms.
This makes use of Go’s conditional compilation which allows us to compile alternative implementations of the same code depending on which platform is targetted.
The key responsibilities of platform abstraction are:
- Orchestration - updating at the desired framerate
- Drawing a 48x84 screen
- Handling audio
- User input
Firmware Platform
Firmware targets are built with tinygo, so firmware only source code is conditionally compiled by including the following directive at the beginning of a file:
//go build tinygo
A game typically runs at a fixed frame rate. Orchestration is handled in a simple for loop where we:
- Update our keypad driver to check for user input
- Invoke
game.Update - Update our audio driver
- Invoke
game.Draw - Draw the canvas to the PCD8544 display
- Sleep until the next frame is due.
Firmware Keypad Driver
The keypad driver is made up of a matrix of rows and columns to account for all 16 keys on a Nokia 3310. There are 4 column inputs and 4 row outputs. The algorithm is:
- For each row ouput:
- set the row high with all other row outputs low
- check for each column input, if the input is:
- high, the button at that row/column position is pressed
- low, the button at that row/column position is released
Firmware Audio Driver
The audio driver uses a PWM output to actuate a buzzer. The audio API provides an amplitude and frequency.
We adjust the PWM period to match the requested frequency, and the amplitude varies the duty cycle from 0 to 50%.
In practice, the amplitude has a very non-linear effect on audio volume on a buzzer.
Firmware Display Driver
The game’s canvas wraps the PCD8544 driver. This means most of the time that we use draw API calls, we are preparing the PCD8544 driver for drawing.
Board Abstraction
There are actually two levels of abstraction - there’s a firmware/desktop abstraction using the tinygo directive, but there’s also target specific abstraction.
The general idea here is to allow other boards to be used - for example, I may decide to build a powerful teensy-based board instead of using the raspberry pi pico.
Some options are available in the engine, but more importantly, a custom board definition can be provided by implementing the board.Definition interface:
type Definition interface {
	Initialize()
	Pcd() *Pcd
	Buzzer() *Buzzer
	Keypad() *Keypad
}
And then calling board.Set(input board.Definition) to use your own custom board.
I am currently using this abstraction to use later versions of the 3310_pico board. For example, my latest version includes RGB backlights and battery measurement.
Desktop Platform
The desktop platform makes heavy use of ebitengine and is conditionally compiled by including the following directive at the beginning of a file:
//go build !tinygo
Ebitengine has two methods Update and Draw which the 3310 engine uses for orchestration:
- In Update we:
- Update our keypad driver
- Invoke
game.Update - Invoke
game.Draw
- In Draw we:
- Apply shaders to emulate LCD screen
- Draw to the ebiten canvas
Desktop Keypad Driver
An application can write its own remapping of the keypad driver if a user would prefer to use different keys - which typically makes sense for 3310 games since keyboards are very different to a phone keypad.
Desktop Audio Emulation
The typical way to handle audio in a game engine is to import audio files and run them through an audio player.
However, engine’s audio API is built around a hardware buzzer and specifies sequences of notes to play for various periods.
Instead of using audio files, the engine takes an audio sequence and synthesizes audio waves to emulate the buzzer. The synthesized audio is basically a sawtooth wave which is passed through a bandpass filter to provide a sound which is similar to a buzzer.
Desktop Screen Emulation
The screen is emulated by using a pair of shaders:
- Response time (shadowing) emulation (84x48) -> (84x48)
- Pixel appearance emulation (84x48) -> (screen resolution)
The result is shown below (alongside an extension which draws a phone frame around the draw region):
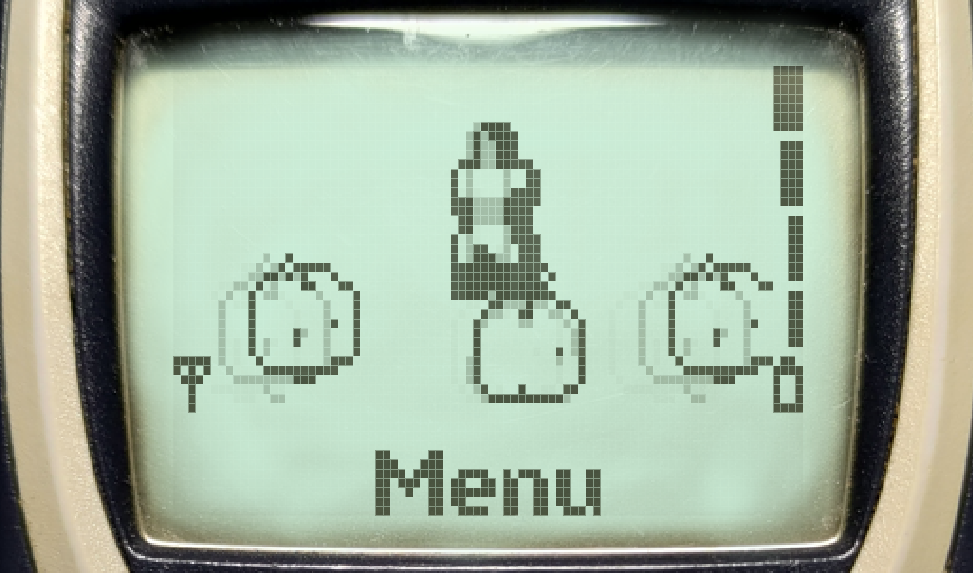
Most of the effort on these shaders were undertaken alongside a real PCD8544 display to ensure dimensions and effects all felt correct - there are more details on the PCD8544 display in my 3310 teardown.
Desktop Extensions
In the previous section, I showed an image of an emulated display with a phone frame on the outside. The outer frame is rendered using extensions.
Extensions operate outside of the game’s main execution, but allow us to do things such as draw overlays, compute and display debug information etc.