ChatBox - OpenAI driven speaker
After making some openai guides and openai video tutorials, I thought it would be really cool to build an AI companion.
The general idea was to experience ChatGPT without jumping on a browser.
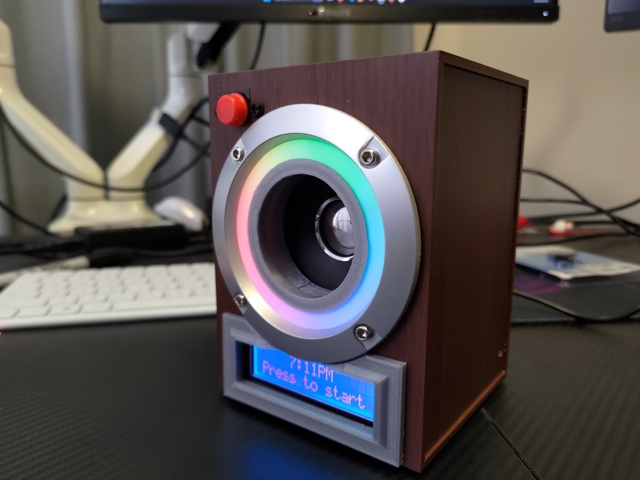
This is the finished product.

It is made up of:
- One side of a USB speaker
- Raspberry Pi as the brains of the operation
- Teensy 4.0 to run the LEDs
- LCD1602 RGB LCD screen
- A pushbutton to let the chatbox know when you want to talk
- A USB microphone (orginally I used a webcam)
- A bunch of 3D printed parts
Software
I wrote the Raspberry Pi code in Go, with a little bit of Python for controlling the LCD screen. You can check out the project on github.com/hoani/chatbox.
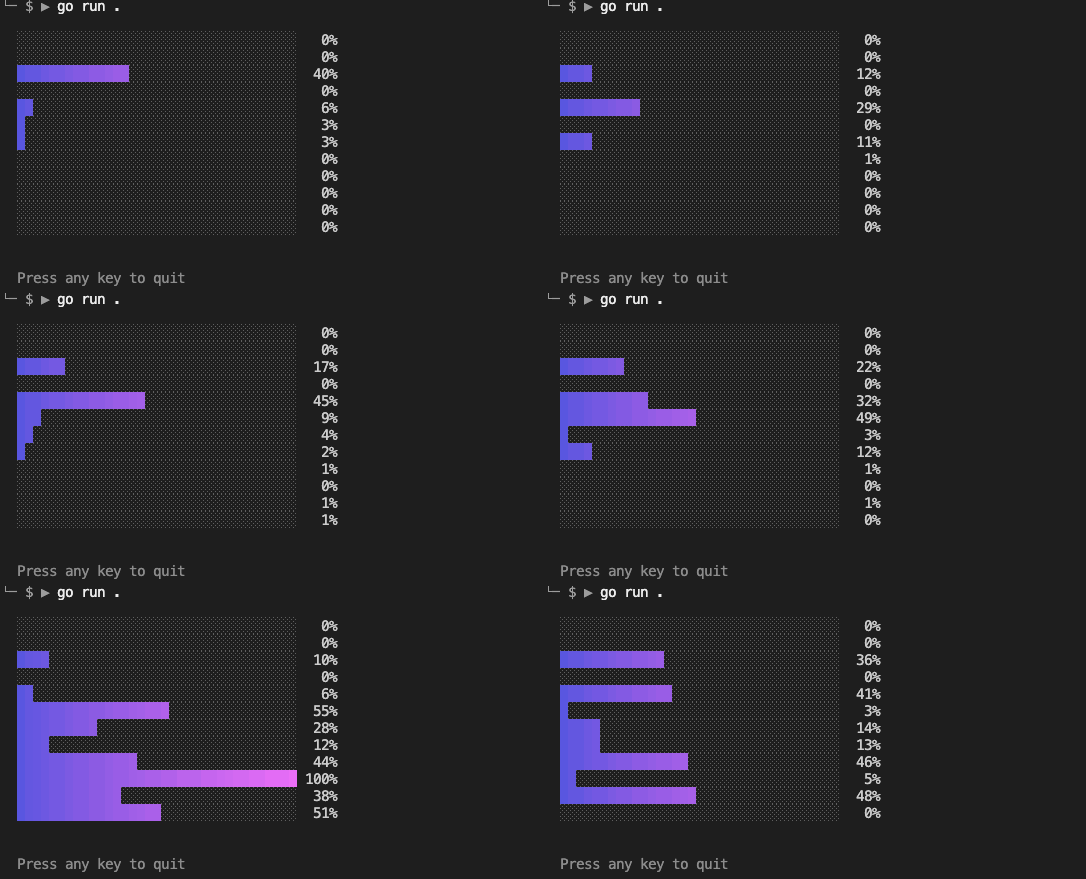
To speed up debugging, I wrote a lot of the code on my Macbook, and used conditional compilation to compile a terminal UI to emulate the LEDs and LCD hardware.

Audio Visualization
One of the more rewarding parts of writing the software was processing audio streams to visualize them. I ended up writing my own go audio library github.com/hoani/toot which provides microphone access and some audio processing. I really like the visualizer example, it responded really well to pure tones and music.

One challenge I had was binning the frequency powers. A linear range isn’t very useful, because humans have a harder time distinguishing between 900-1000 Hz as opposed to 100-200Hz. Ideally, I would bin them in some logarithmatic way, but I had a lot to do in this project and ended up just using a triangular number distribution, which actually worked pretty well.
LED Driving
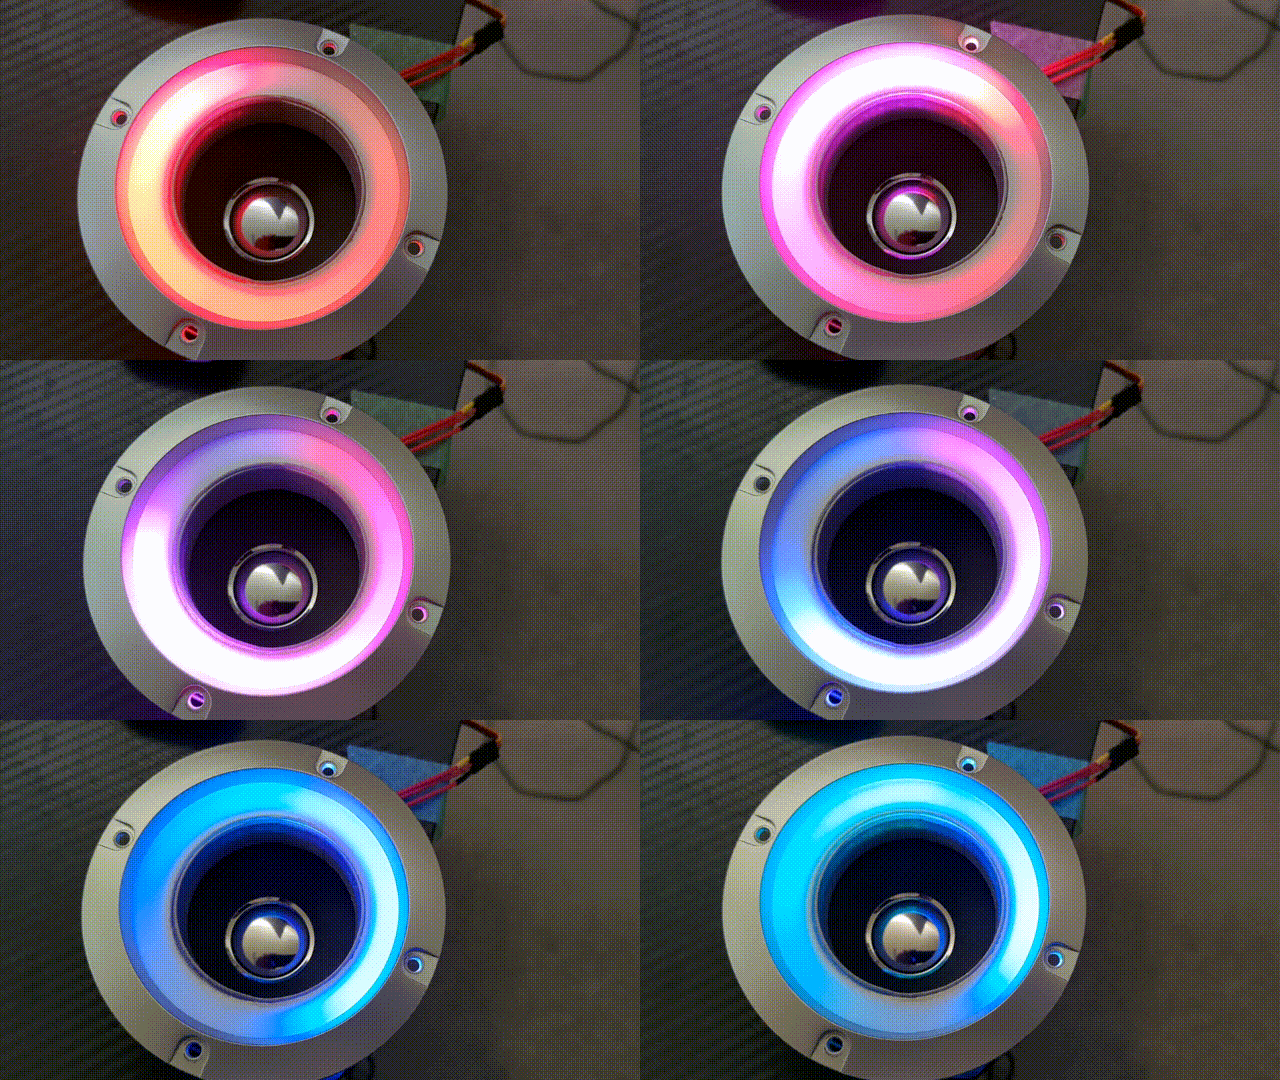
The LEDs are a ring of WS2812, which are commonly branded by Adafruit as NeoPixels. Adafruit provide a library for running these, but I decided that it would be better to have the option of running and powering these off an Arduino instead; that way the Arduino can act as a serial slave to whatever machine wants to control the pixels.
This resulted in the github.com/hoani/serial-pixel library, which is probably the tidiest and most useful arduino project I have ever built.

Other Considerations
There was a lot involved in this project. Some highlights were:
- Choosing to just call python libraries from go using
exec.Cmd("python3", <library>)- this saved a lot of extra development. - Learning to use
systemctl --user- it turns out that withportaudiothe root user doesn’t have access to the same audio hardware as the user… so this was necessary to have the program run onsystemdwhen the raspberry pi boots up. - It turns out backing up SD cards on the raspberry pi isn’t too hard - Step 1 of this guide is really easy.
OpenAI Chat
The design of this project was:
- Use a microphone + OpenAI
voicetranscription to convert voice to text for user input - Use an OpenAI
chatcompletions session to generate responses - Use
espeakto convert thechatresponses to audio
I had a lot of ideas coming into this project.
One of them, was to let the AI chat model decide what voice it was going to respond with. It turns out that this is a terrible idea. Because the GPT model generates text without knowing what’s coming next, it can’t predict the tone or voice it should be using… so it actually made the experience of conversing with the model worse.
I also considered letting the AI choose LED colors too, but this was equally disappointing for the same reasons.
I think if I were to enhance this project further, I would use a seperate AI model to determine what the tone, pitch or voice should be for chat responses… the only problem with this is that it adds extra latency to the chat.

