
Pendulum Robot - First Control Test
I want to make a cool bipedal robot – however part way through the design, I realized I should probably start simple and go complex later.
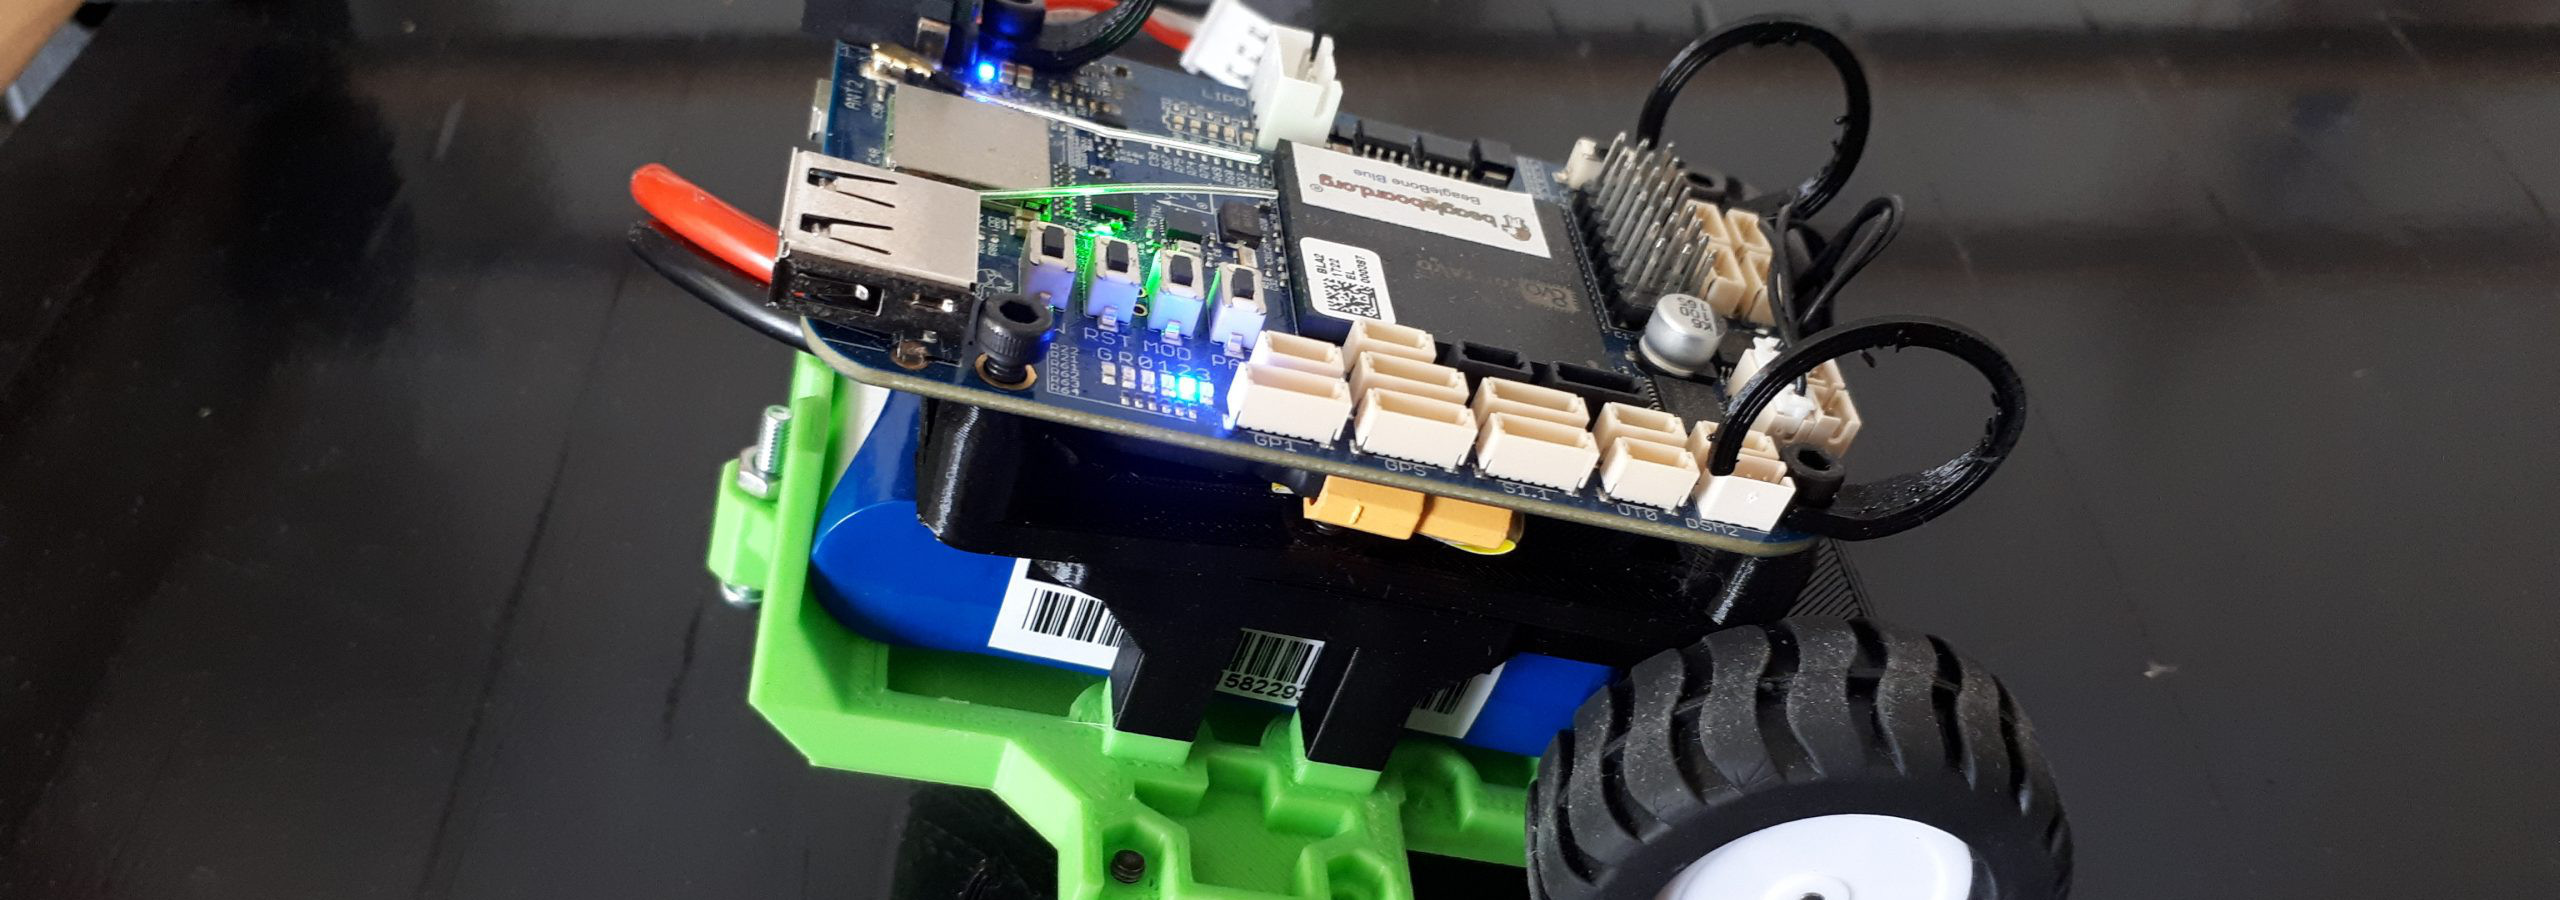
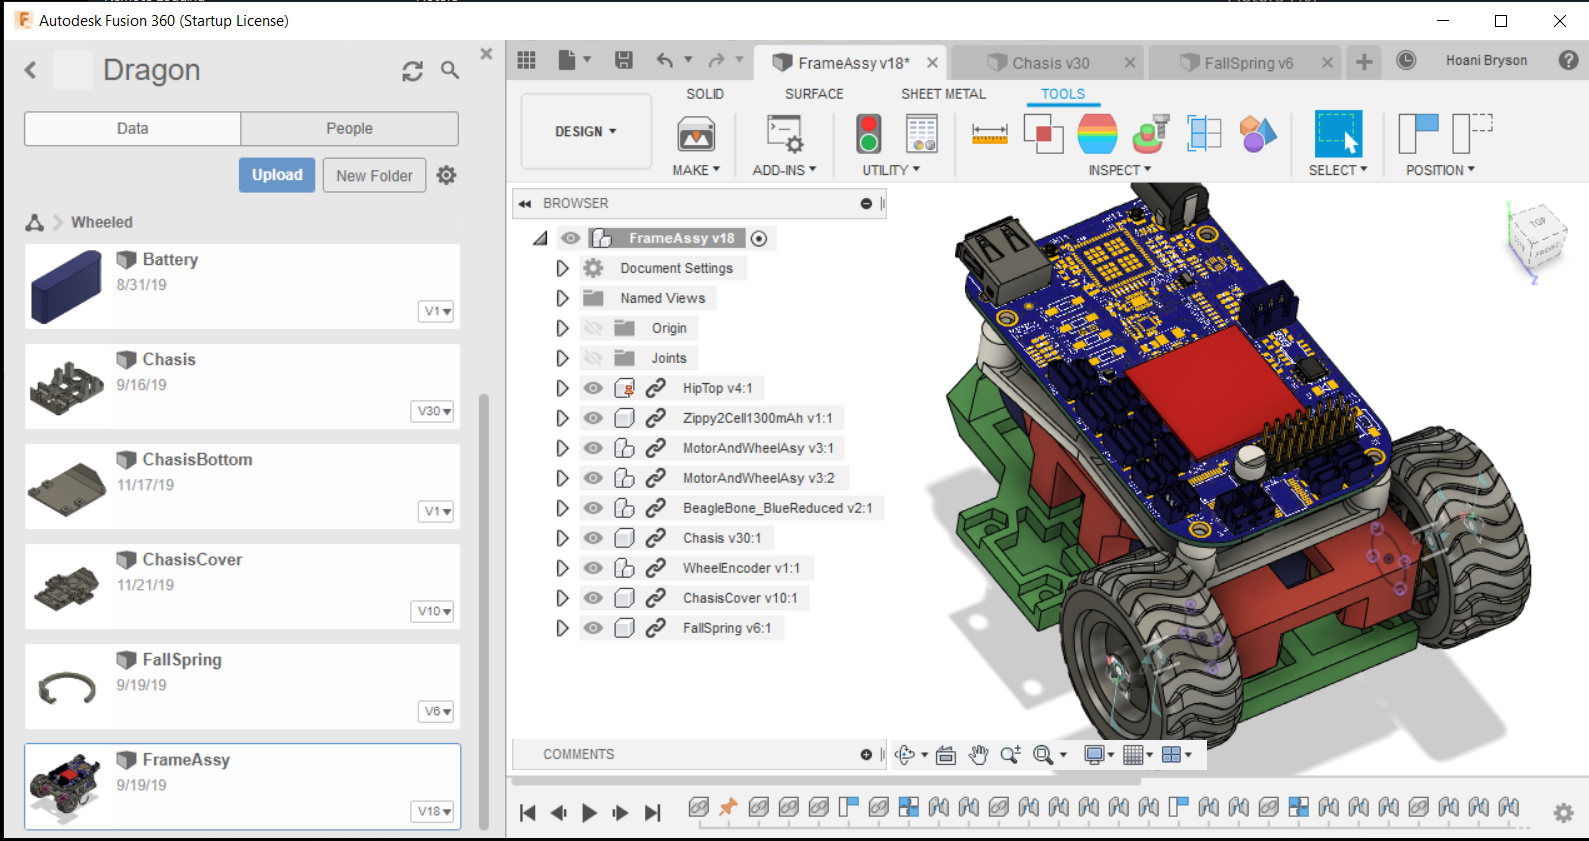
So I started with a two wheeled robot – super easy.
The first goal was to get communication over wifi/bluetooth.
To do this, I designed my own communications protocol called RoBus (see: github.com/hoani/RoBus) some aspects of it are very loosely based on ModBus (such as human readability), but other aspects are based off other protocols I have used.
A GUI was also needed to quickly represent the robot’s state and simplify the command interface. QT’s GUIs running on PySide2 can be imported into Python from a tool called QT creator. Coding GUI layouts is not fun, so I decided that using QT’s PySide2 library was a good idea.
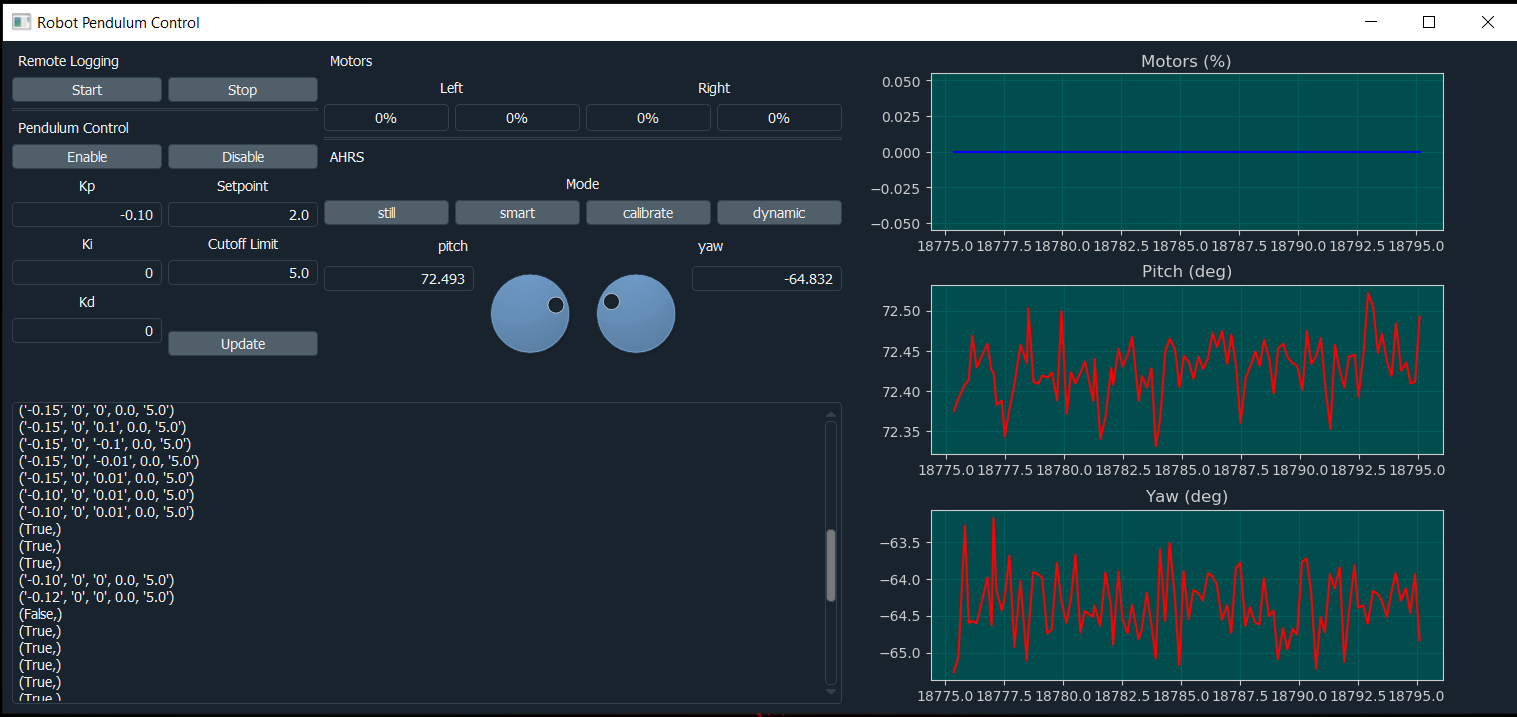
Now that I had the robot controlled and publishing data over wifi/bluetooth, I decided it was time to go for the pendulum control problem. The following video is of my first test of the control:
The next step is to use data logs of these tests to identify parameters of a model of the Robot. From there I will be able to simulate it’s behavior, determine if the pendulum control is even possible at the sampling rate I am using, and finally tune the PID gains (or even better, write a model based controller).