
Rostock Max V2 Build

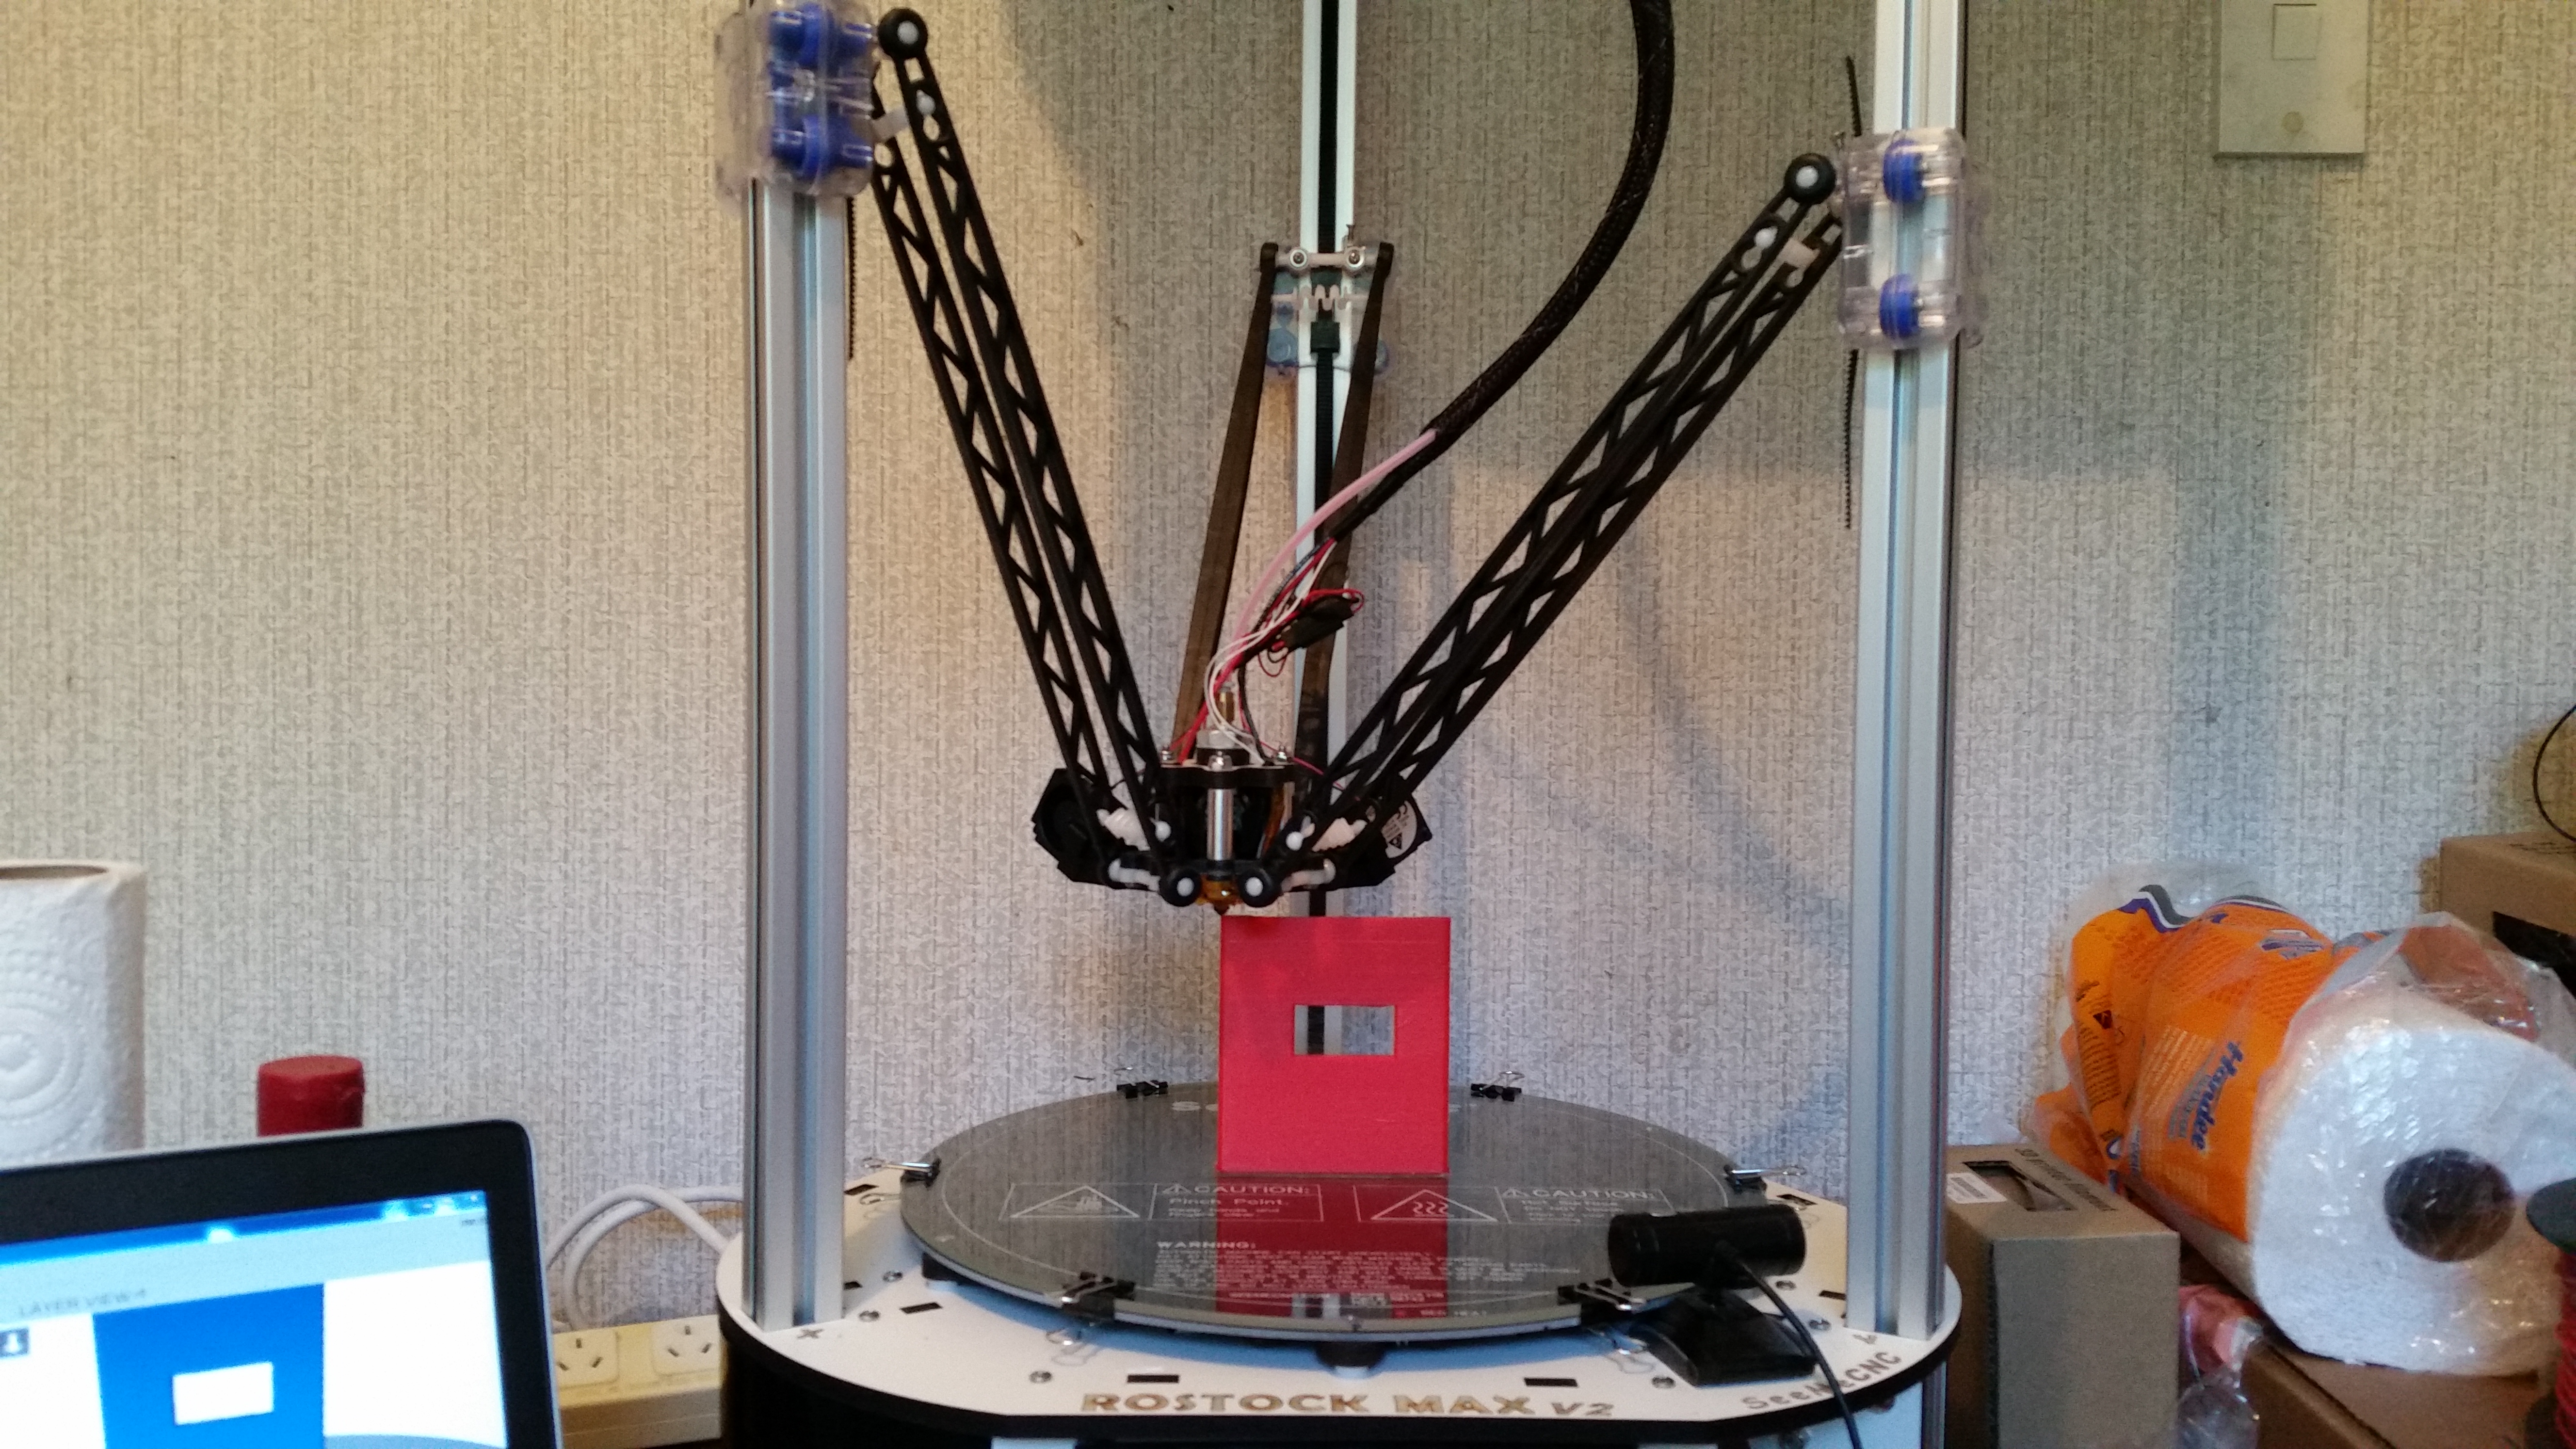
One of the major complaints online about the Rostock Max v2 is the complicated build process. The actual build of the printer, though complicated and detailed, was reasonably straight forward when following the detailed instructions. If you’re planning on building your own Rostock Max, I’d suggest a thorough read of the instructions before it arrives; there are a lot of tips and tricks worth getting your head around while the parts are in transit. You’ll also want a heck of a lot of space to build it—we had the boxes in a single-car garage plus a half-room to build in, so be prepared that you’ll need extra floor/deskspace for building.
The building process requires time, patience, and a fair amount of perfectionism, so if you’re someone who wants to get rip-roaring into 3D printing with minimal effort then this project isn’t for you. However, building your own printer is not only a rewarding experience, but it’s also an enjoyable one so long as you come at it from the right perspective. Building a 3D printer requires you to become intimately familiar with your machine—this is a great asset when trying to problem-solve prints later down the track, as you will know your machine inside out and back to front!
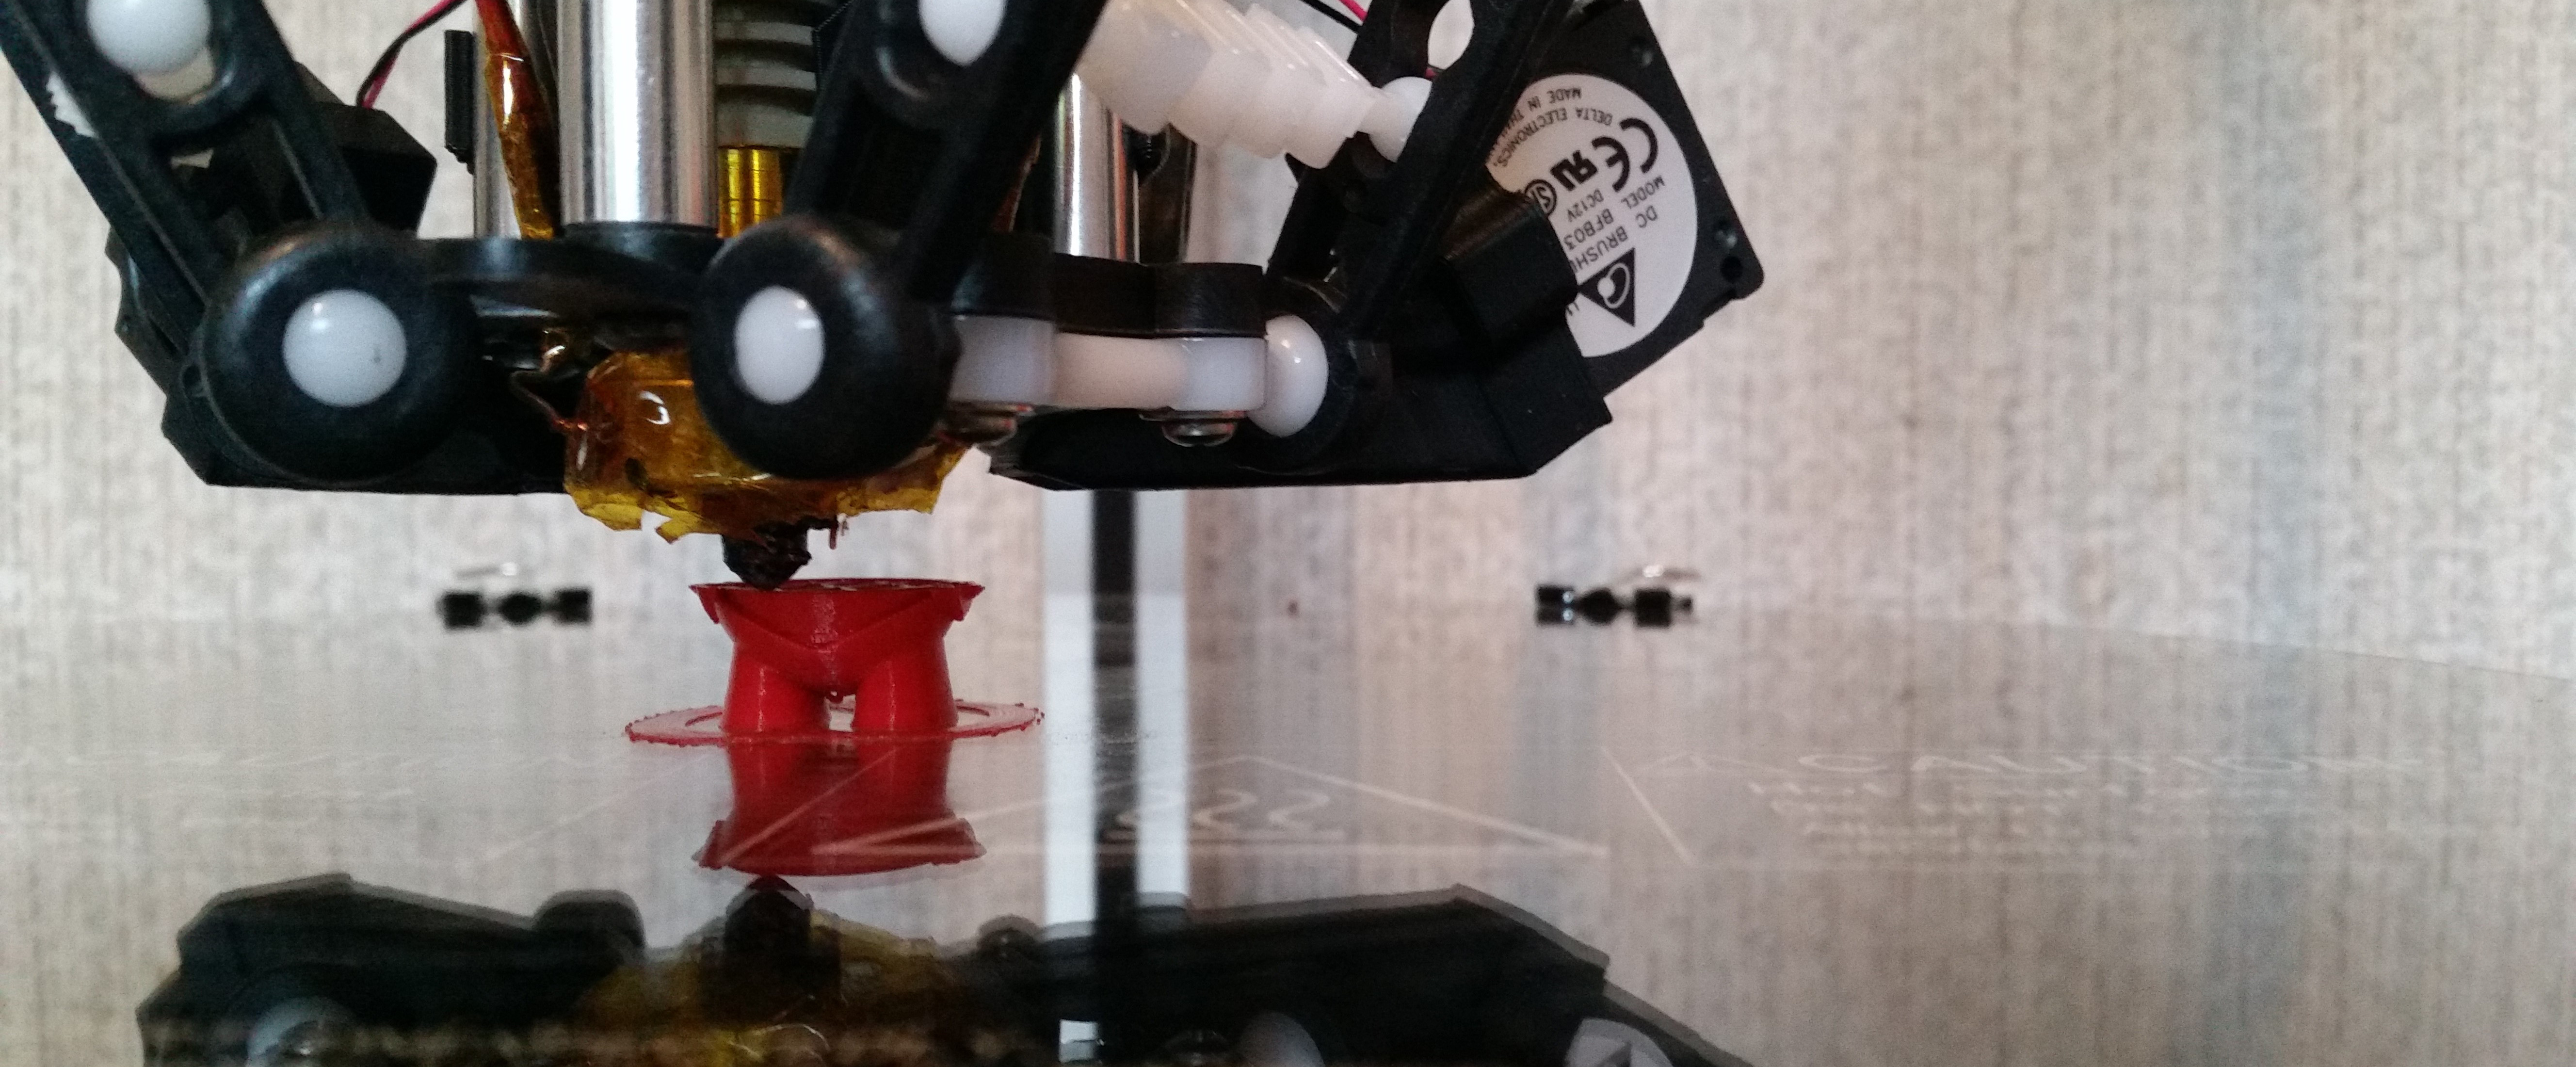
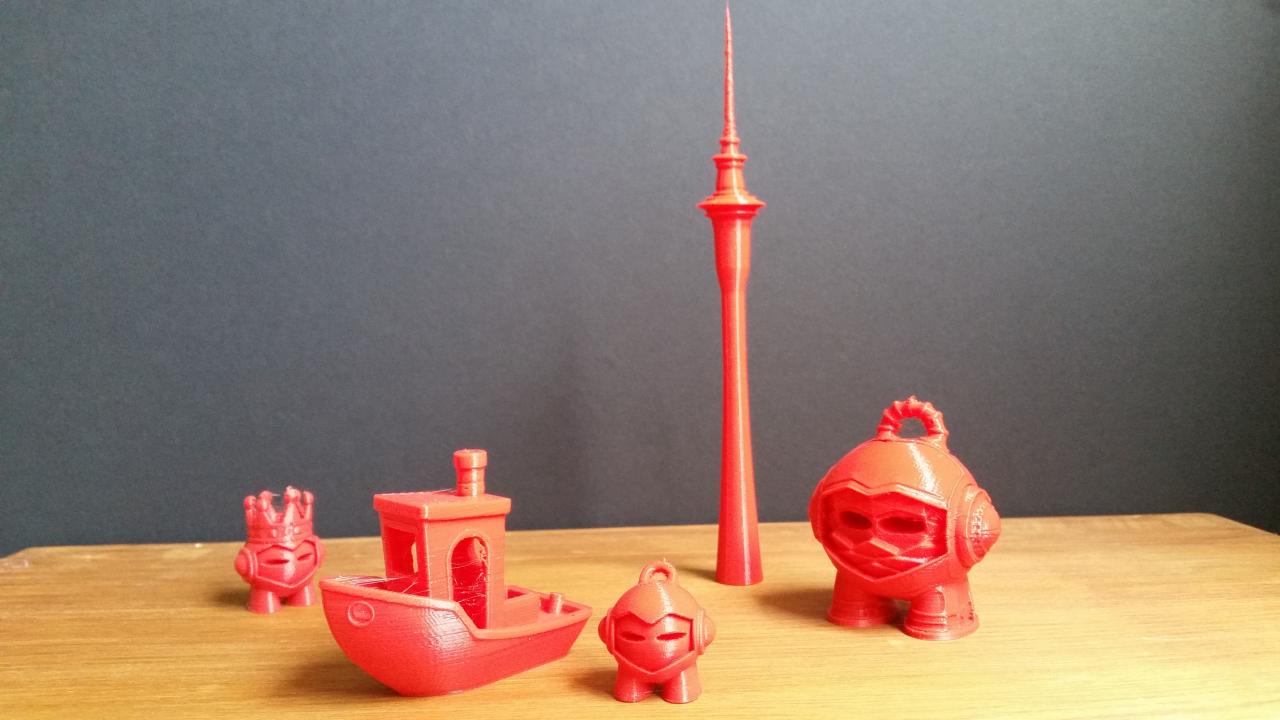
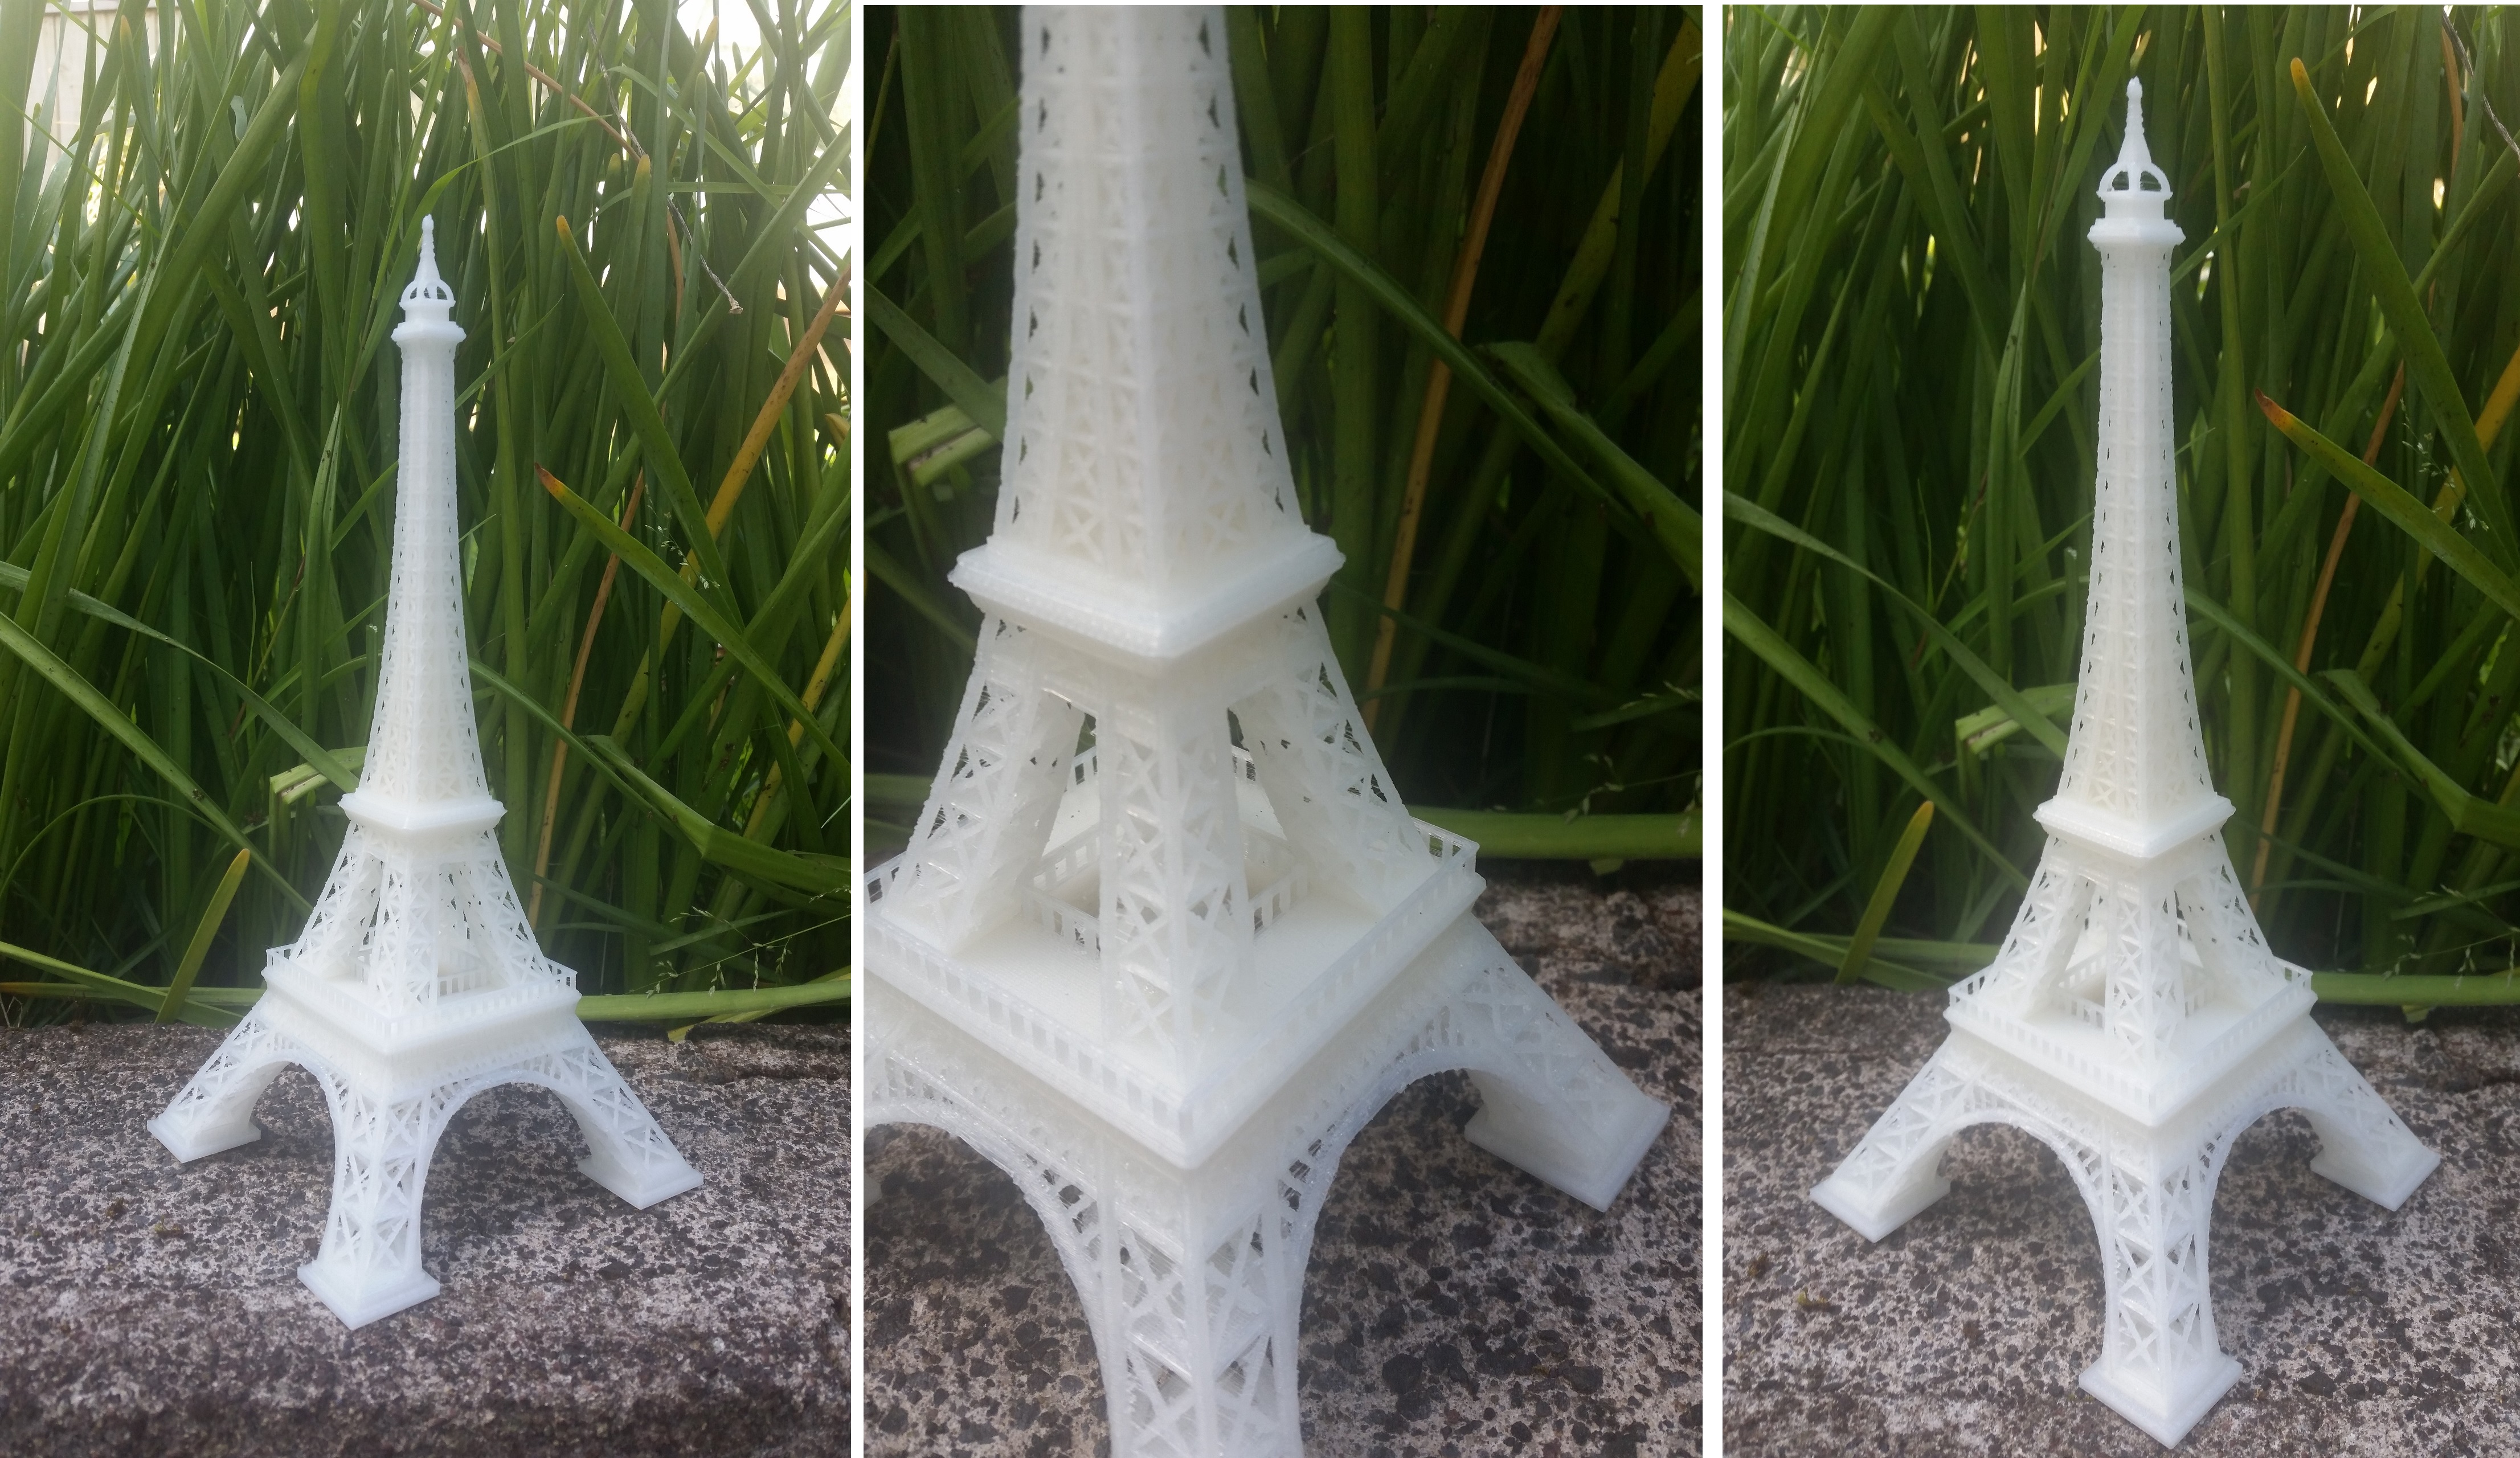
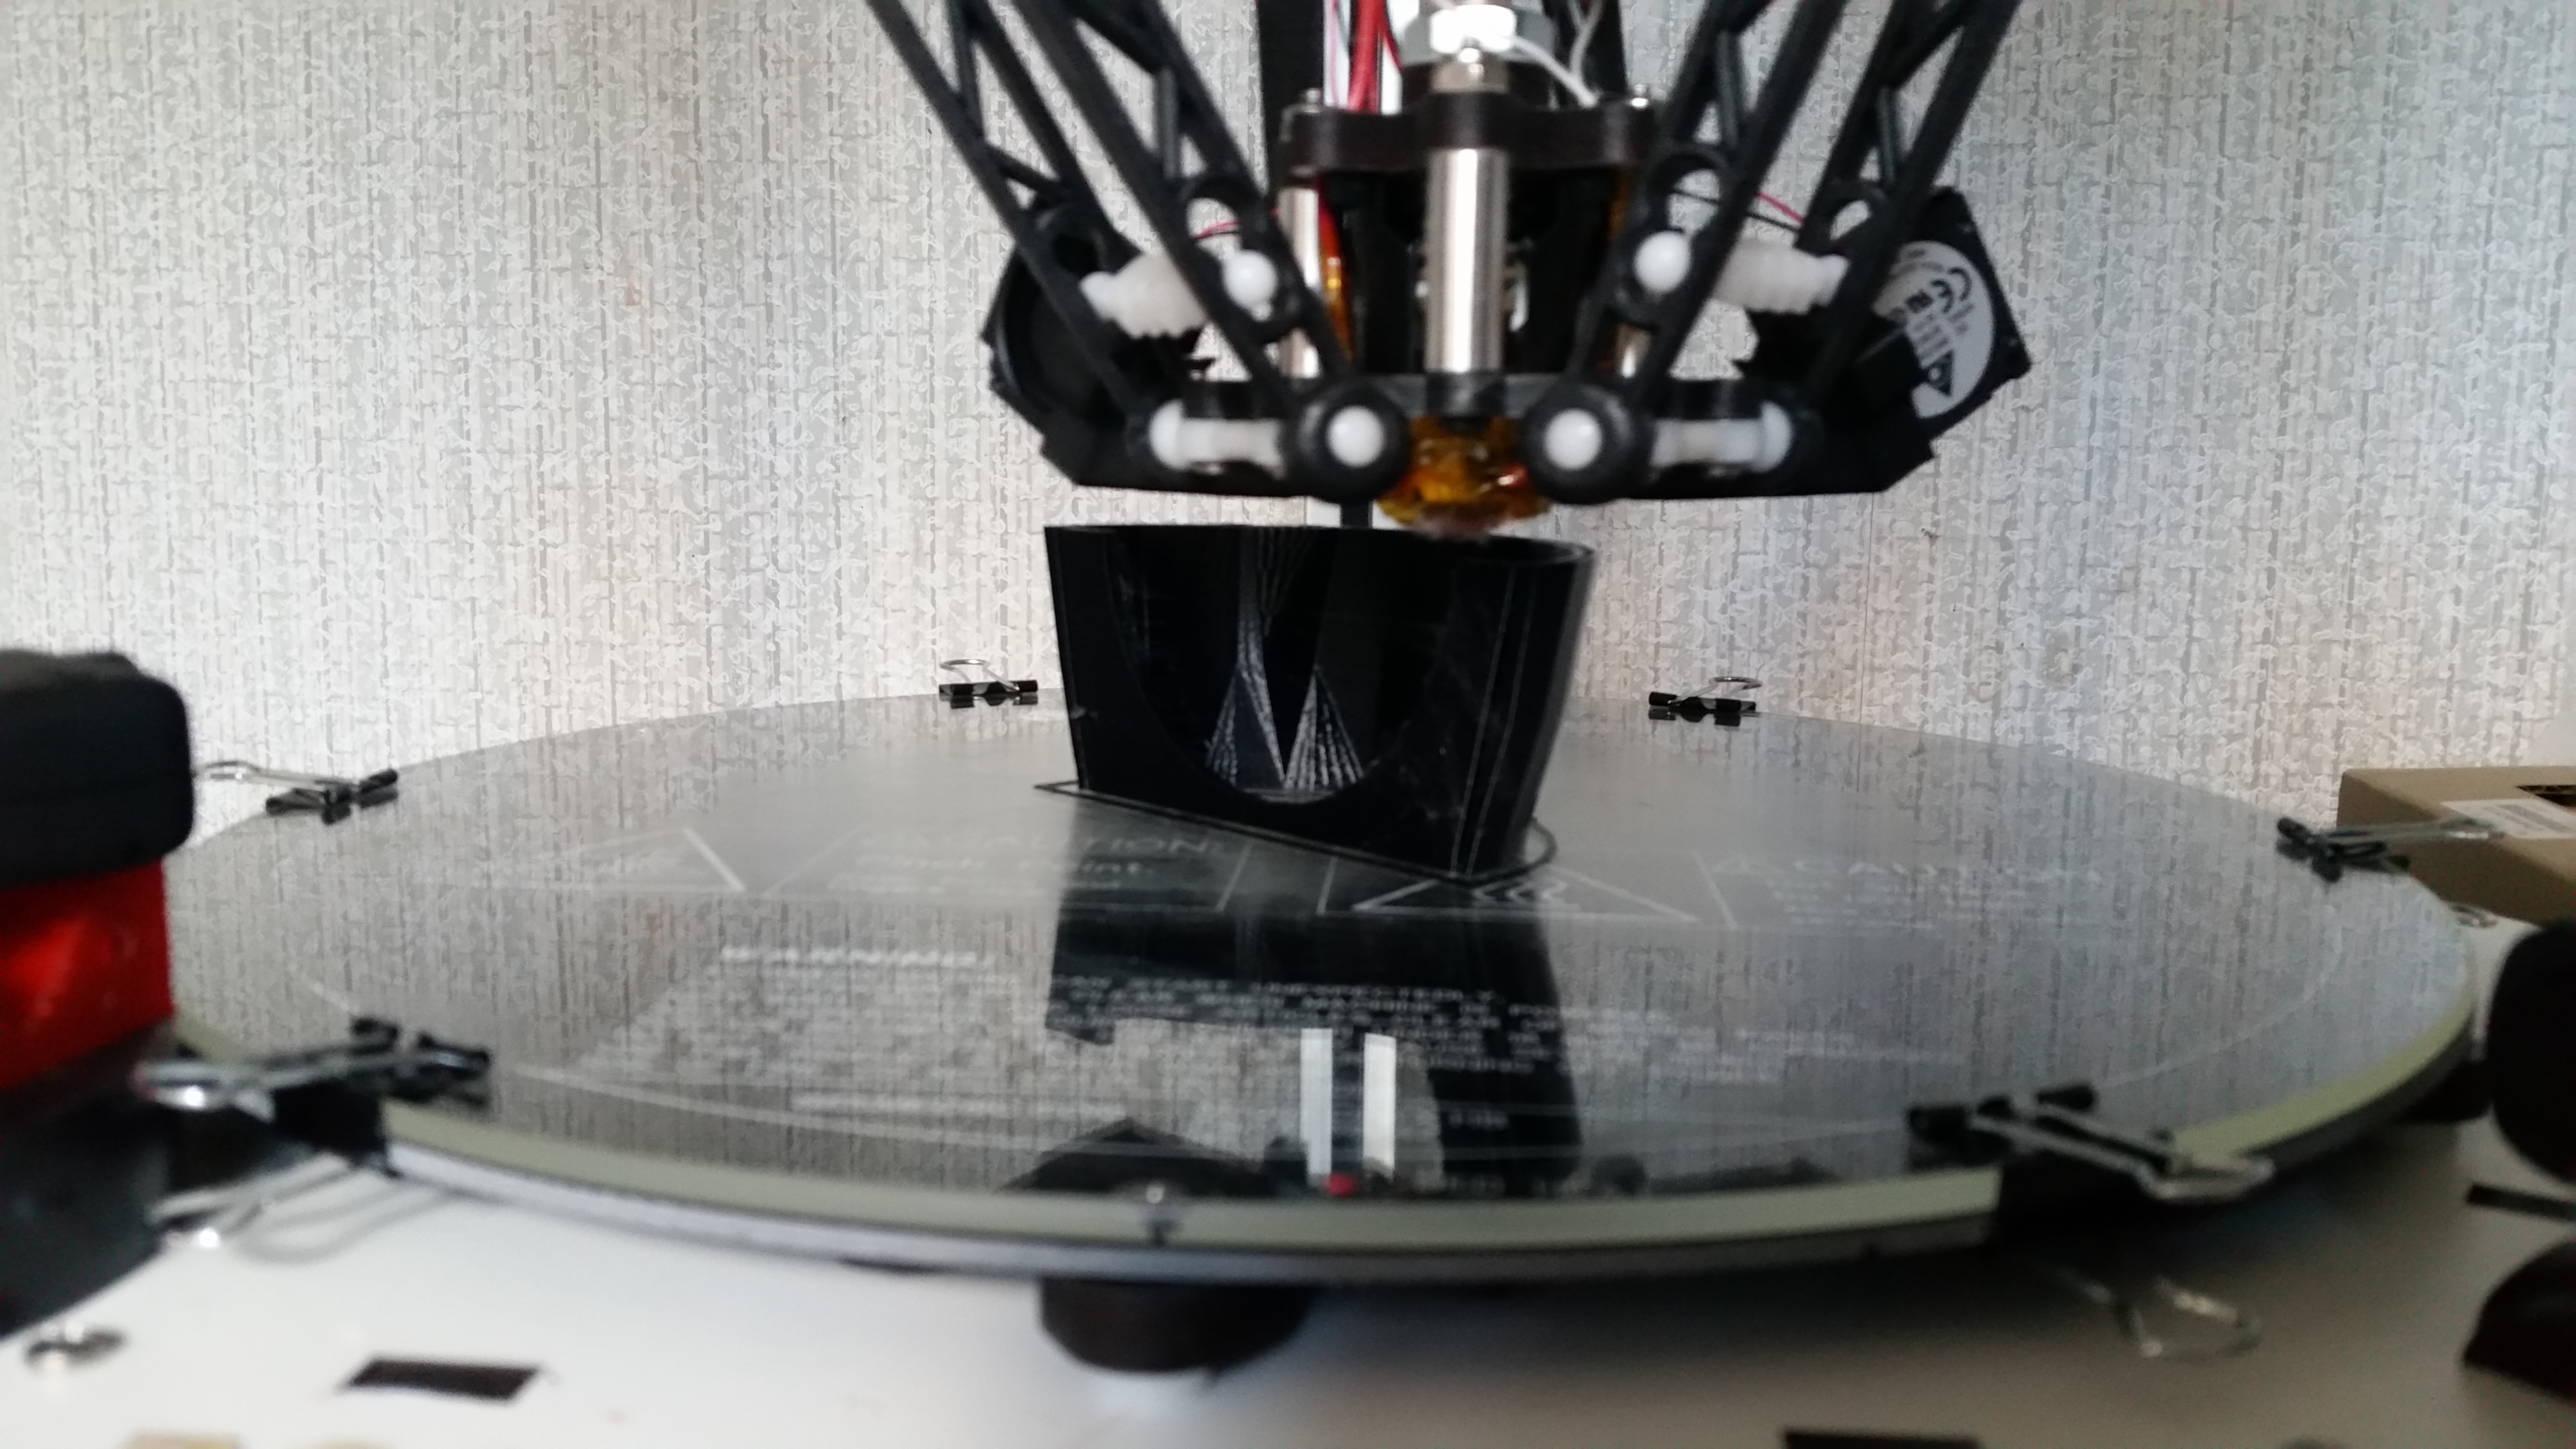
We spent a lot of time on calibration, although we intended to move the printer soon after building. It turned out to be worthwhile, though, as after that first process of calibration (we must have run the XYZ calibration about 20 times or so before the two of us were finally happy with it) the printer ran near-perfectly. All that time and effort payed off into an exciting round of first prints, which really made us feel like we’d achieved something.
Go slow, take your time to get things right, and watch out for the butterfly effect—a small problem or misalignment might not seem like much now, but that dreaded moment when you’re trying to get the top on, or getting the XYZ cables organised may end up a nightmare if you don’t take the time to get things right now.
After our first prints were successful and we’d done a few small projects of our own, we decided to set up a small outsourcing business with 3DHubs. 3DHubs has a system where when you upload your CAD file and prices for a range of different hubs are automatically calculated. You can then shop around for a hub that matches your preferences—whether they’re close by, offer shipping or pick-up, are more cost-effective or have a higher quality printer than other hubs.
We must have looked at most of the different hubs in New Zealand, and a fair few in Australia and other larger 3D printing countries in order to get a feel for where we sat in the market. We took our time developing our marketing material, as we decided that entry-level friendliness and accessibility were factors that would set us apart from others in the area. We lowered our prices significantly to start off with—lots of people who 3D print using a hub don’t have the resources to buy their own printers, are doing test prints to test out different kinds of printers, are students, or are designers of some kind who want quick, easy, cost-effective solutions.
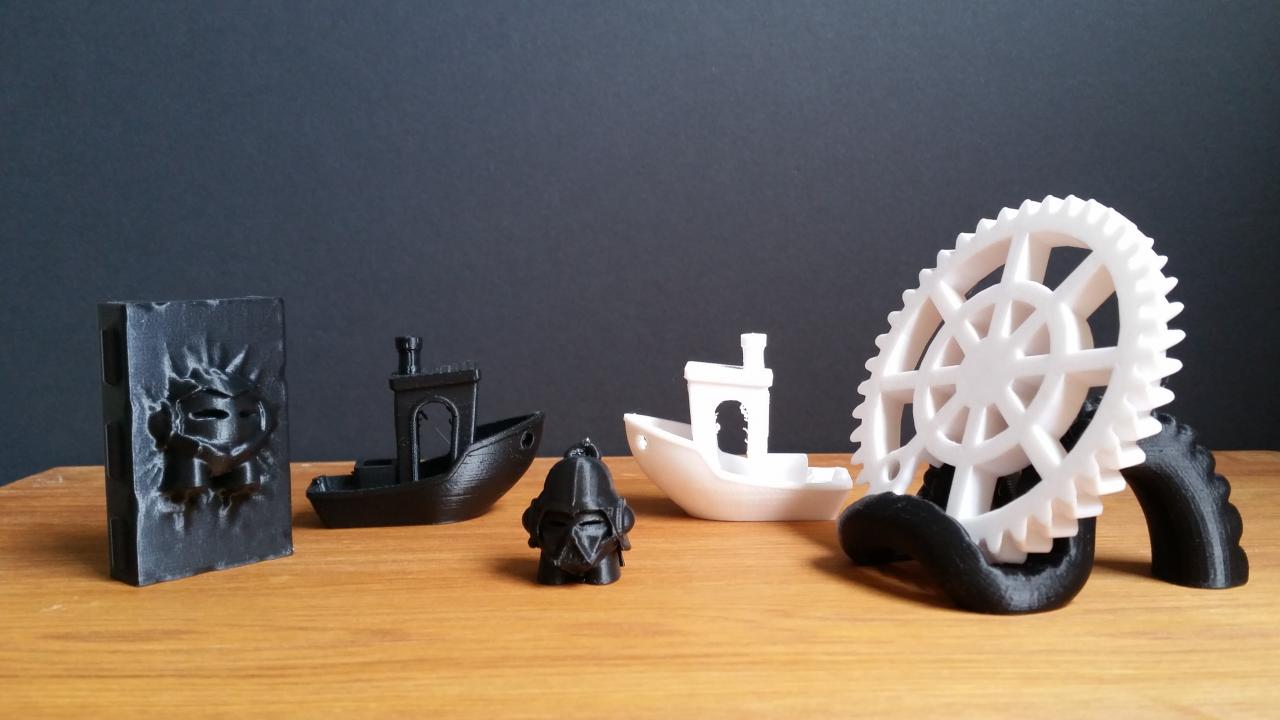
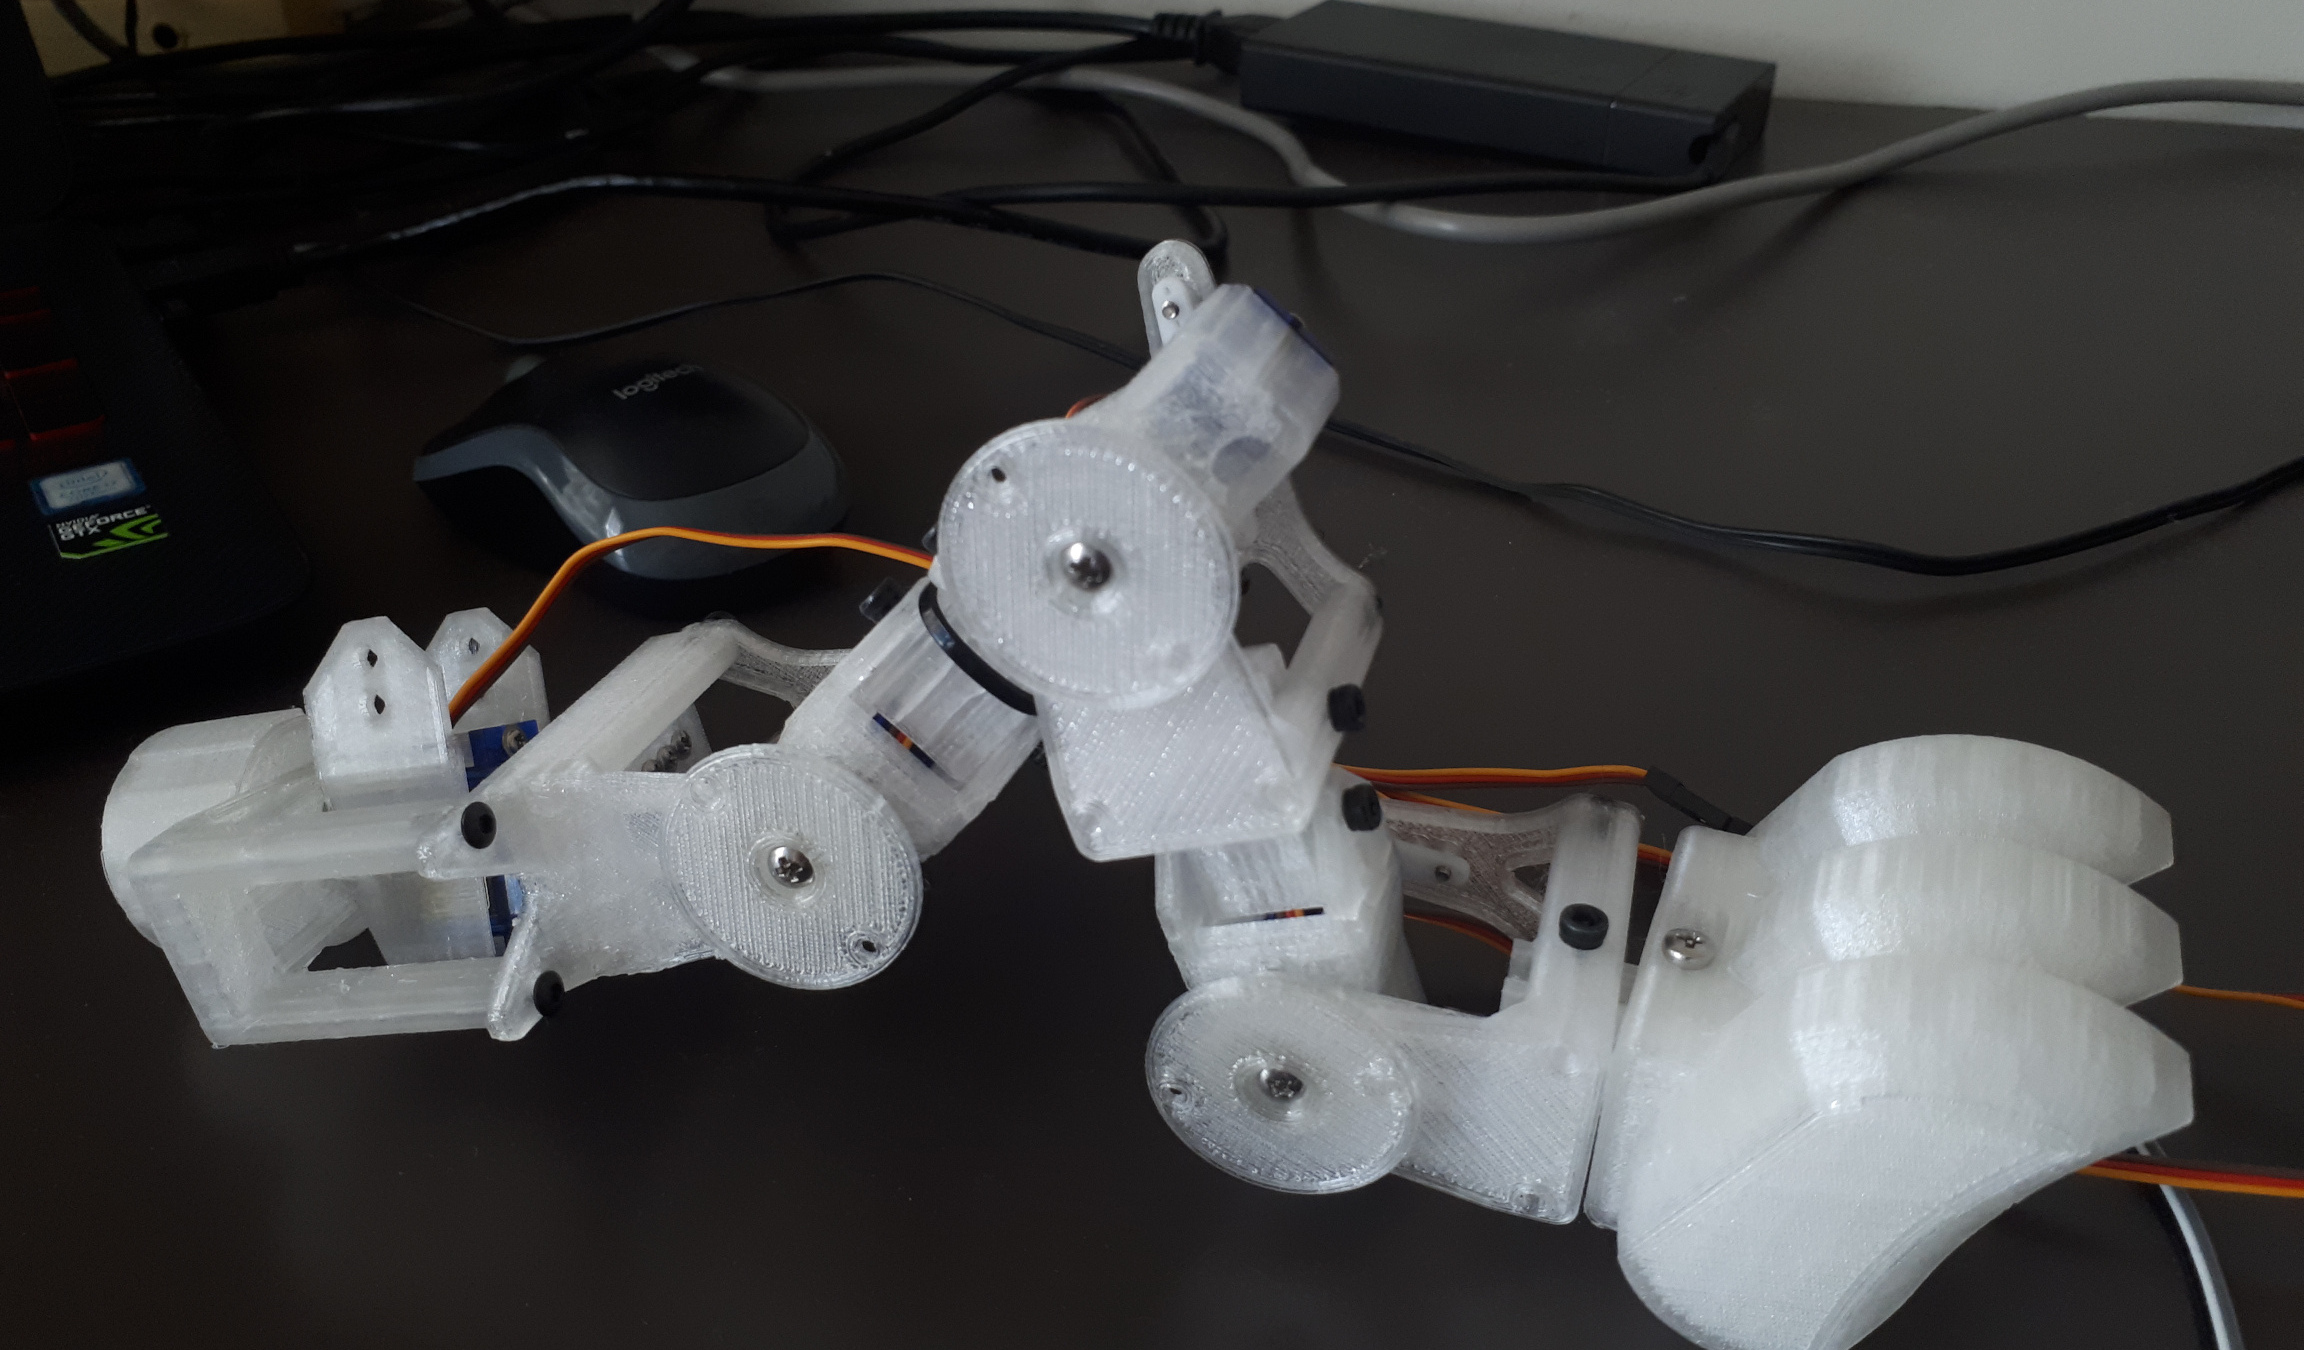
To start off with we got a slow influx of orders, but as we were unsure about our printer capabilities, we did turn down a number of orders that in hindsight, once we’d built up a little experience and confidence, we could have taken on. 3DHubs was great because it made us more comfortable with running our printer, troubleshooting when things came up, and really helped us both to ramp up our skills at a faster rate than if we were just doing our own projects. Within the space of a couple of months we had printed a really diverse range of things—from parts for go-carts to a mechanical arm, to pieces for a board game designer, to a NES case for a raspberry pi. From connectors for a meditation tent, to model parts and hobbyist projects, we kept ourselves busy—a little too busy at times! Postage was a bit of an issue sometimes, and we soon found we had enough orders under our belts to justify a price increase. After that the orders were a wee bit more spaced out, but our margins were such that we could afford to keep more filament stock on hand—within the first two months, we had paid off all our initial filament and we were able to buy several more rolls.