
Robocat Quadcopter Build
When I left the work force to return to university I was inspired by the students who flew RC vehicles for fun. The enthusiasm and skills that went into building these flying machines on a student budget really impressed me. I wanted to have a go at quadcopters because I thought they looked a lot easier to get into than planes and gliders.
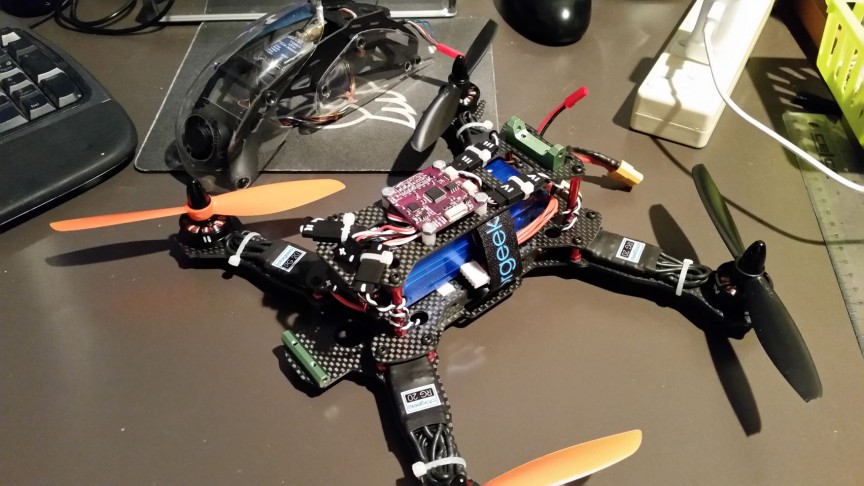
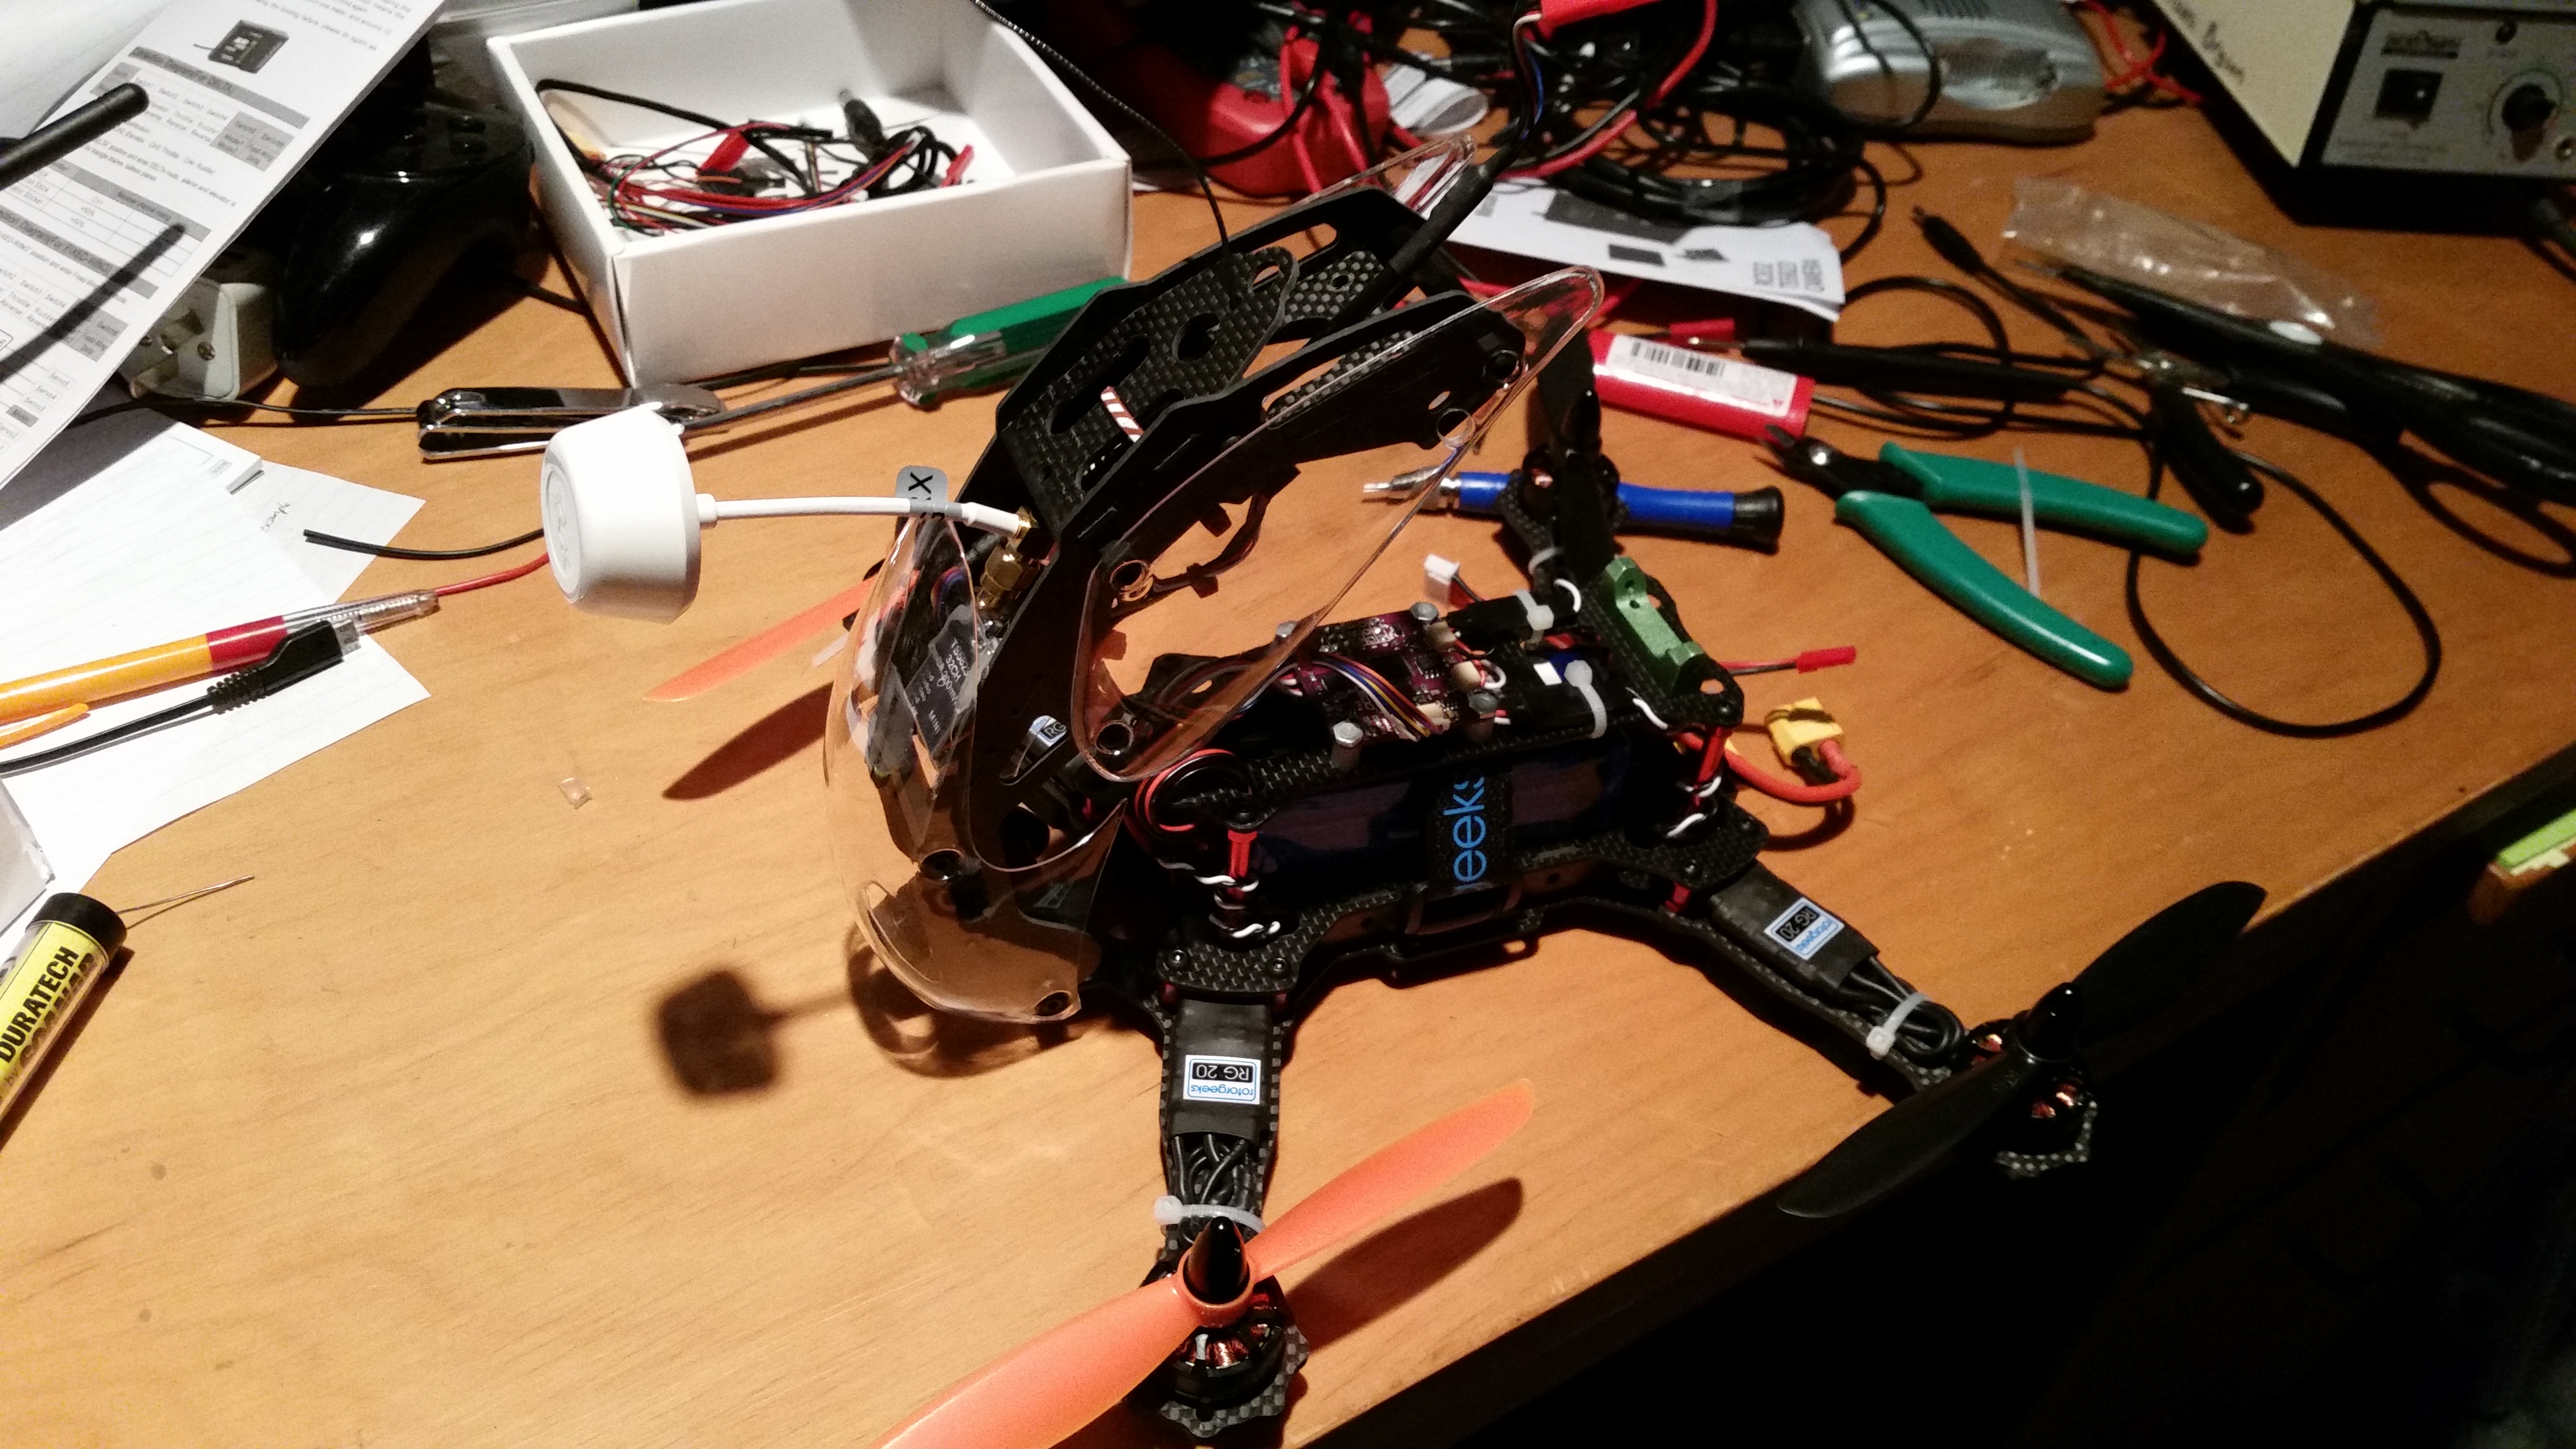
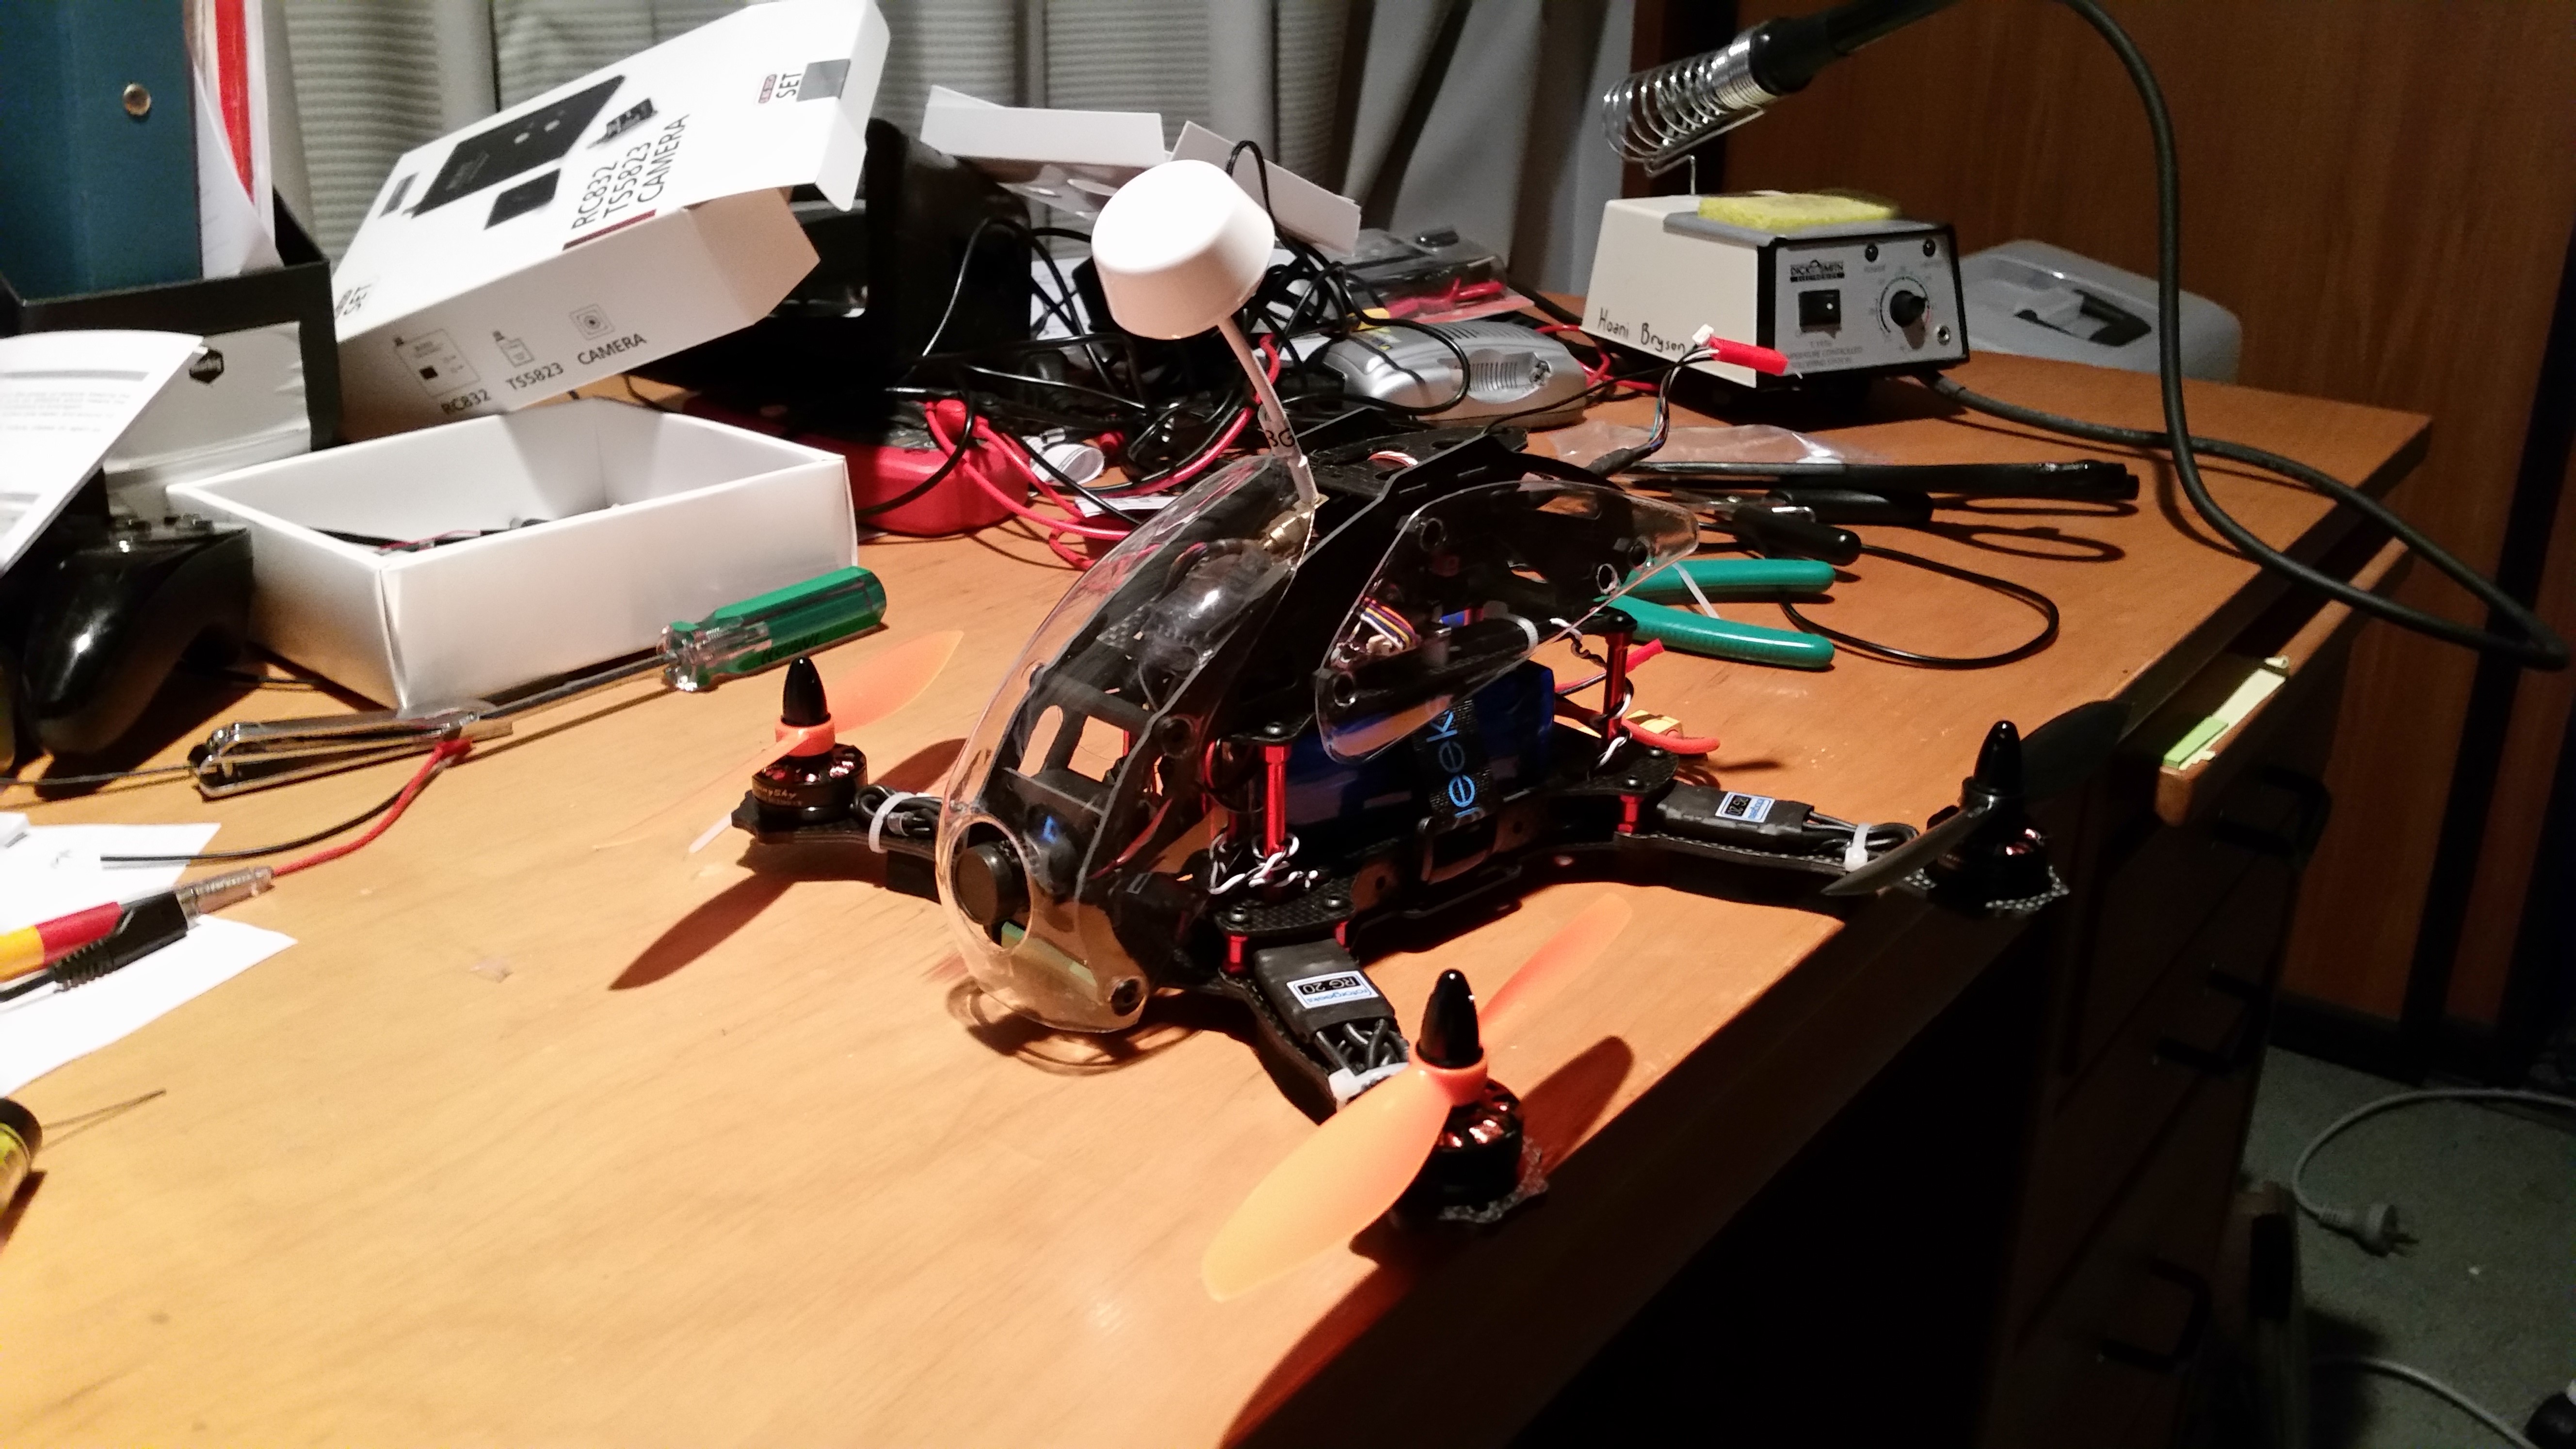
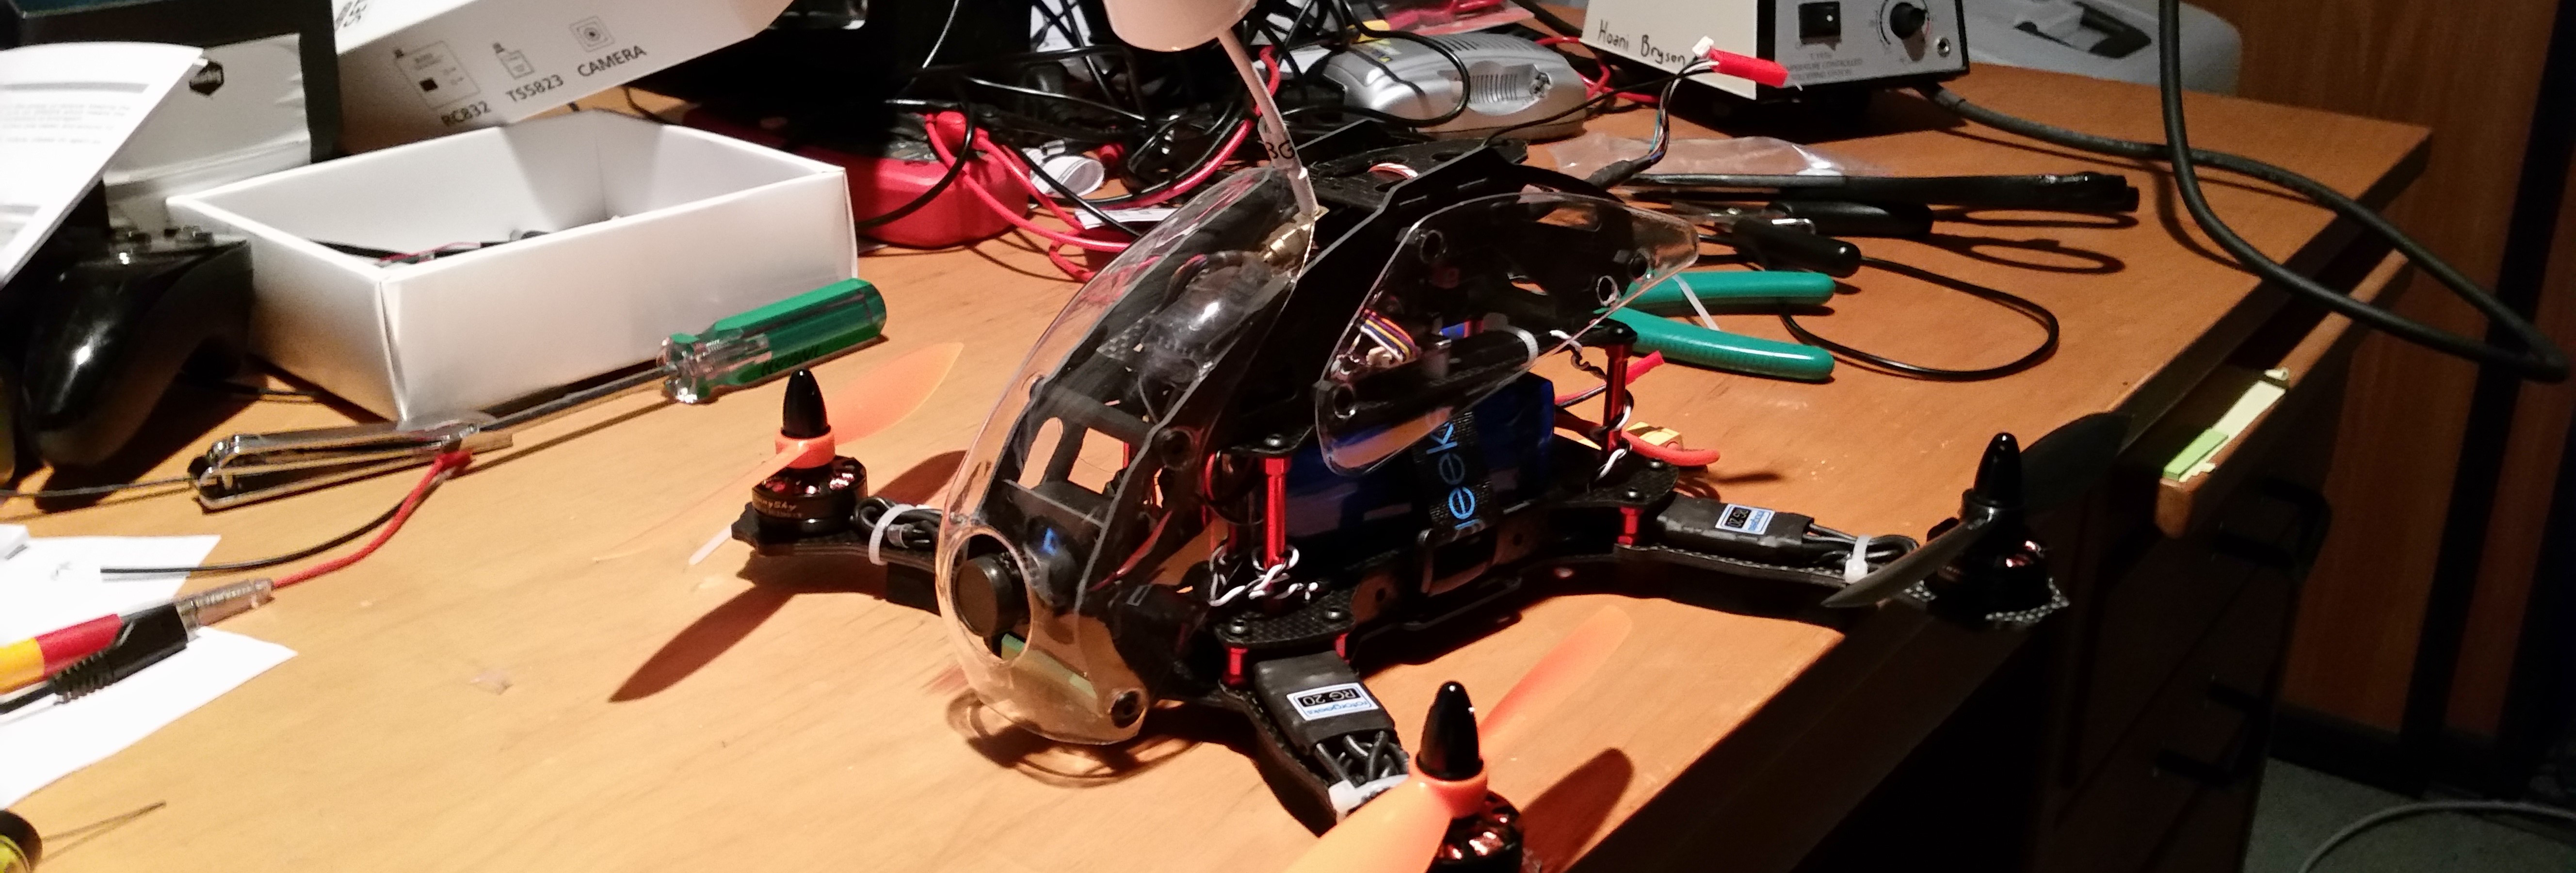
This is my first build, using the robocat frame:
- Robocat 275mm Racer Quad (Clear)
- Gemfan 5030 Propellars
- Openpilot CC3D
- HK Pilot Power VI Module
- 2x Sunny Sky X2204S KV2300 CCW
- 2x Sunny Sky X2204S KV2300
- Rotorgeeks RG20 ESC
- Quantum FPV Bundle 5.8GHz 32 Channel
- Turnigy 6X FHSS 2.4GHz transmitter/Reciever (Mode 2)
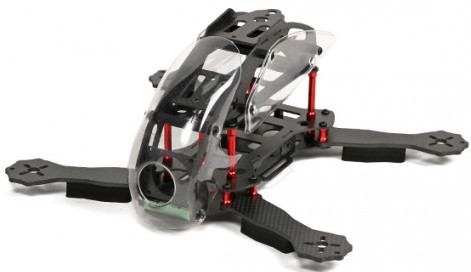
My first impression of the frame was that this thing looks awesome. When choosing the frame, I did a bit of searching on the google. This was helpful because some of the other frames I was looking at turned out to be easy to break. The robocat is more robust and you can buy spare arms for it easily.
The rest of the parts I chose mostly came from this thread where people discussed their robocat builds.
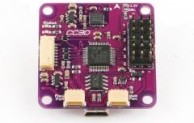
I used the Openpilot CC3D controller. It was a pain to set up – but there are a lot of youtube videos to help. Specifically, this video is good for anyone who hasn’t used the CC3D. As a quick way to learn the LED flash sequences, this video was really useful.
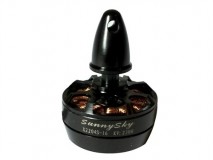
I chose Sunny Sky motors, and got two of the clockwise and counter-clockwise versions. This turned out to be pretty good because if the propellars hit anything, the cap of the motor flies off, effectively disarming the propeller and preventing it from doing any damage. If you want to use this safety feature, you need to place the CW and CCW motors in the right positions on the quad.
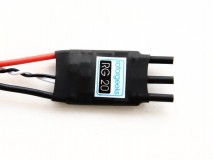
Because I wanted to make a racing quadcopter, I use a 4S battery. To support this I needed some nice ESCs. The RG20s are pretty popular, especially with a few of the really awesome quad racers pilots on youtube. Unfortunately, New Zealand is one of the worst places to get LiPo batteries because of the shipping hazards. I bought from a good local supplier but paid about double what most people would have to pay around the world.
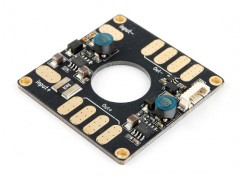
To distribute the power to the ESCs, I bought the HK Pilot Power VI Module. It was important that the module had the 12V and 5V regulators because the RG20s don’t have internal BECs. I don’t like the idea of using ESC based BECs anyway since ESCs can get hot during flight. The only problem with the HK Pilot Power VI is that it was too wide for the robocat mounting. I used a miniature hacksaw we had in our lab at uni to cut it down to the correct width. This worked fine but I had to be careful that I didn’t cut any tracks or short any power planes. If I built this quad again I would choose a different power distribution board.
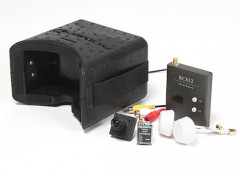
The quantum FPV bundle was the cheapest I could find. It was fun to put together. On the quadcopter side, the camera doesn’t sit comfortably on the robocat frame and is at risk of being knocked in a crash. I used some double sided tape and a cut down popsicle stick to put the camera a little further back in the frame so the camera is protected in a crash.
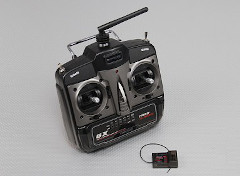
The Turnigy 6X FHSS transmitter and receiver radio was one of the cheapest I could find. I really regret buying these. When buying new parts, I will be upgrading my radio first. It turns out that if you turn the radio off, the receiver’s outputs default to fully on. This is really scary because the first thing I do when I am done flying is to instinctively turn off my remote. Seems logical because then you can’t accidentally hit the throttle. Well guess what? Turning the radio off puts the quad into full throttle – you hear this happen in my video below.
edit It turns out that the correct procedure for disarming a radio link is to turn the receiver off before the transmitter. So the receiver’s behaviour is not inexcusable on Turnigy’s part. I think for making the quad foolproof, a receiver that behaves differently when the remote is turned off is a good idea.
The overall weight of the build with a 1500mAH battery is 650g. It flies for about 8 minutes. I am pretty happy with the fact that the build works. Tuning the CC3D might help it fly better.
Finally, a video of the quad’s first flight: