

LazerPaw - Cat lazer turret.
In January, we adopted three kittens who had been abandoned at a raceway.
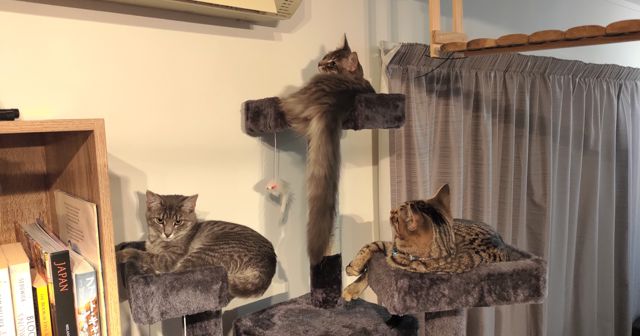
We love them to bits but sometimes it’s hard to keep up with thier kitten energy.
I had just finished learning a bit about OpenCV (see my guides here) and I thought maybe I could build a lazer turret to play with my cats.
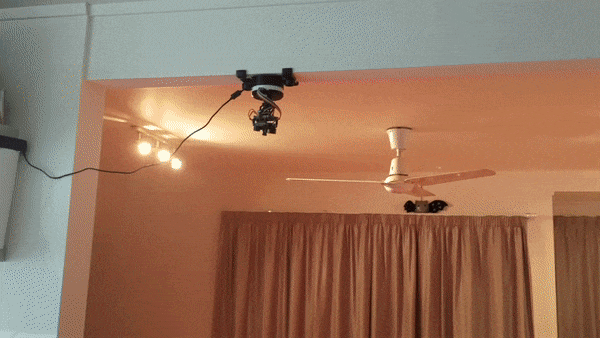
Lazer Turret
This is the finished product.
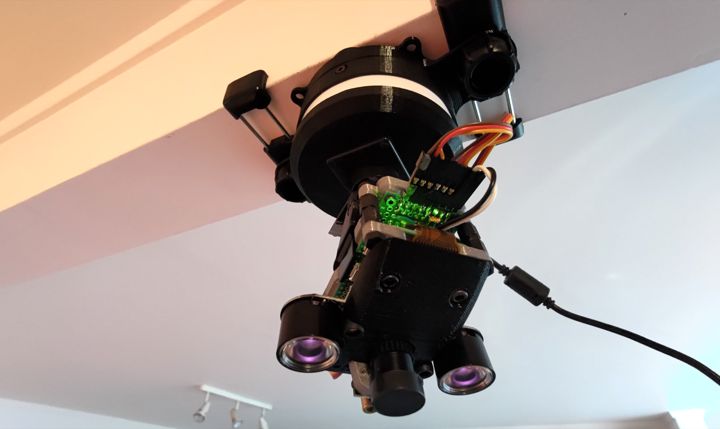
It is made up of:
- Red Lazer (<1mW)
- Raspberry Pi Zero W2
- Rasberry Pi IR Camera
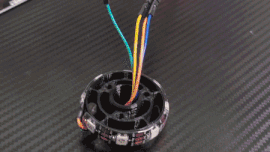
- Servo pan-tilt module
- Raspberry Pi Pico
- Neo Pixel Strip
- A pushbutton to start/stop the chase game
- A bunch of 3D printed parts
- Two smartphone holders to mount to the ceiling beam
Design Decisions
Use a camera without the IR filter
As you’ll see later, I use a red backdrop. This makes the cats stand out against the background.
Align the camera and lazer
Both camera and lazer are on the pan-tilt system. This simplifies the control algorithm because the center of the image is always where the lazer is pointing.
Have a simple hardware UI
There is a single button to start the chase game. Holding it will shutdown the Raspberry Pi.
There is a single strip of neopixel LEDs which show status and mode.
Safety
The bulk of the requirements around this build was with safety in mind.
Firstly, it’s important to point out that a <1mW lazer is very unlikely to cause damage to a cats eyes.
Having said that, I wanted to make sure that our cats were as safe as possible. To achieve this, I built in two requirements:
- The system must turn the lazer off as soon as it thinks it is pointed at a cat
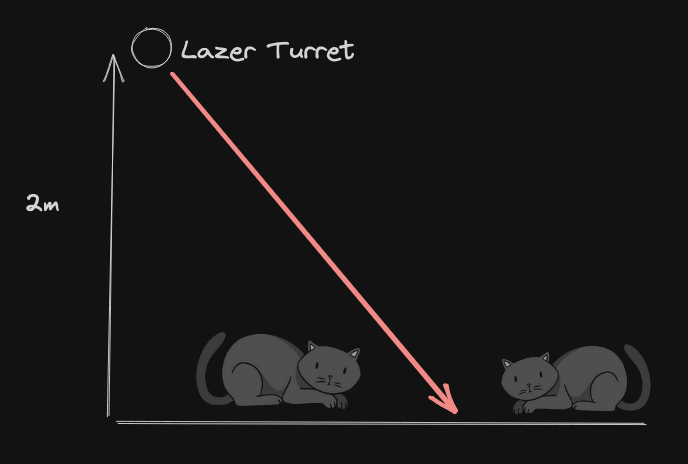
- The system should be mounted high
Mounting the turret high means that when chasing the lazer, the cat is always looking away from the light source.
Algorithm
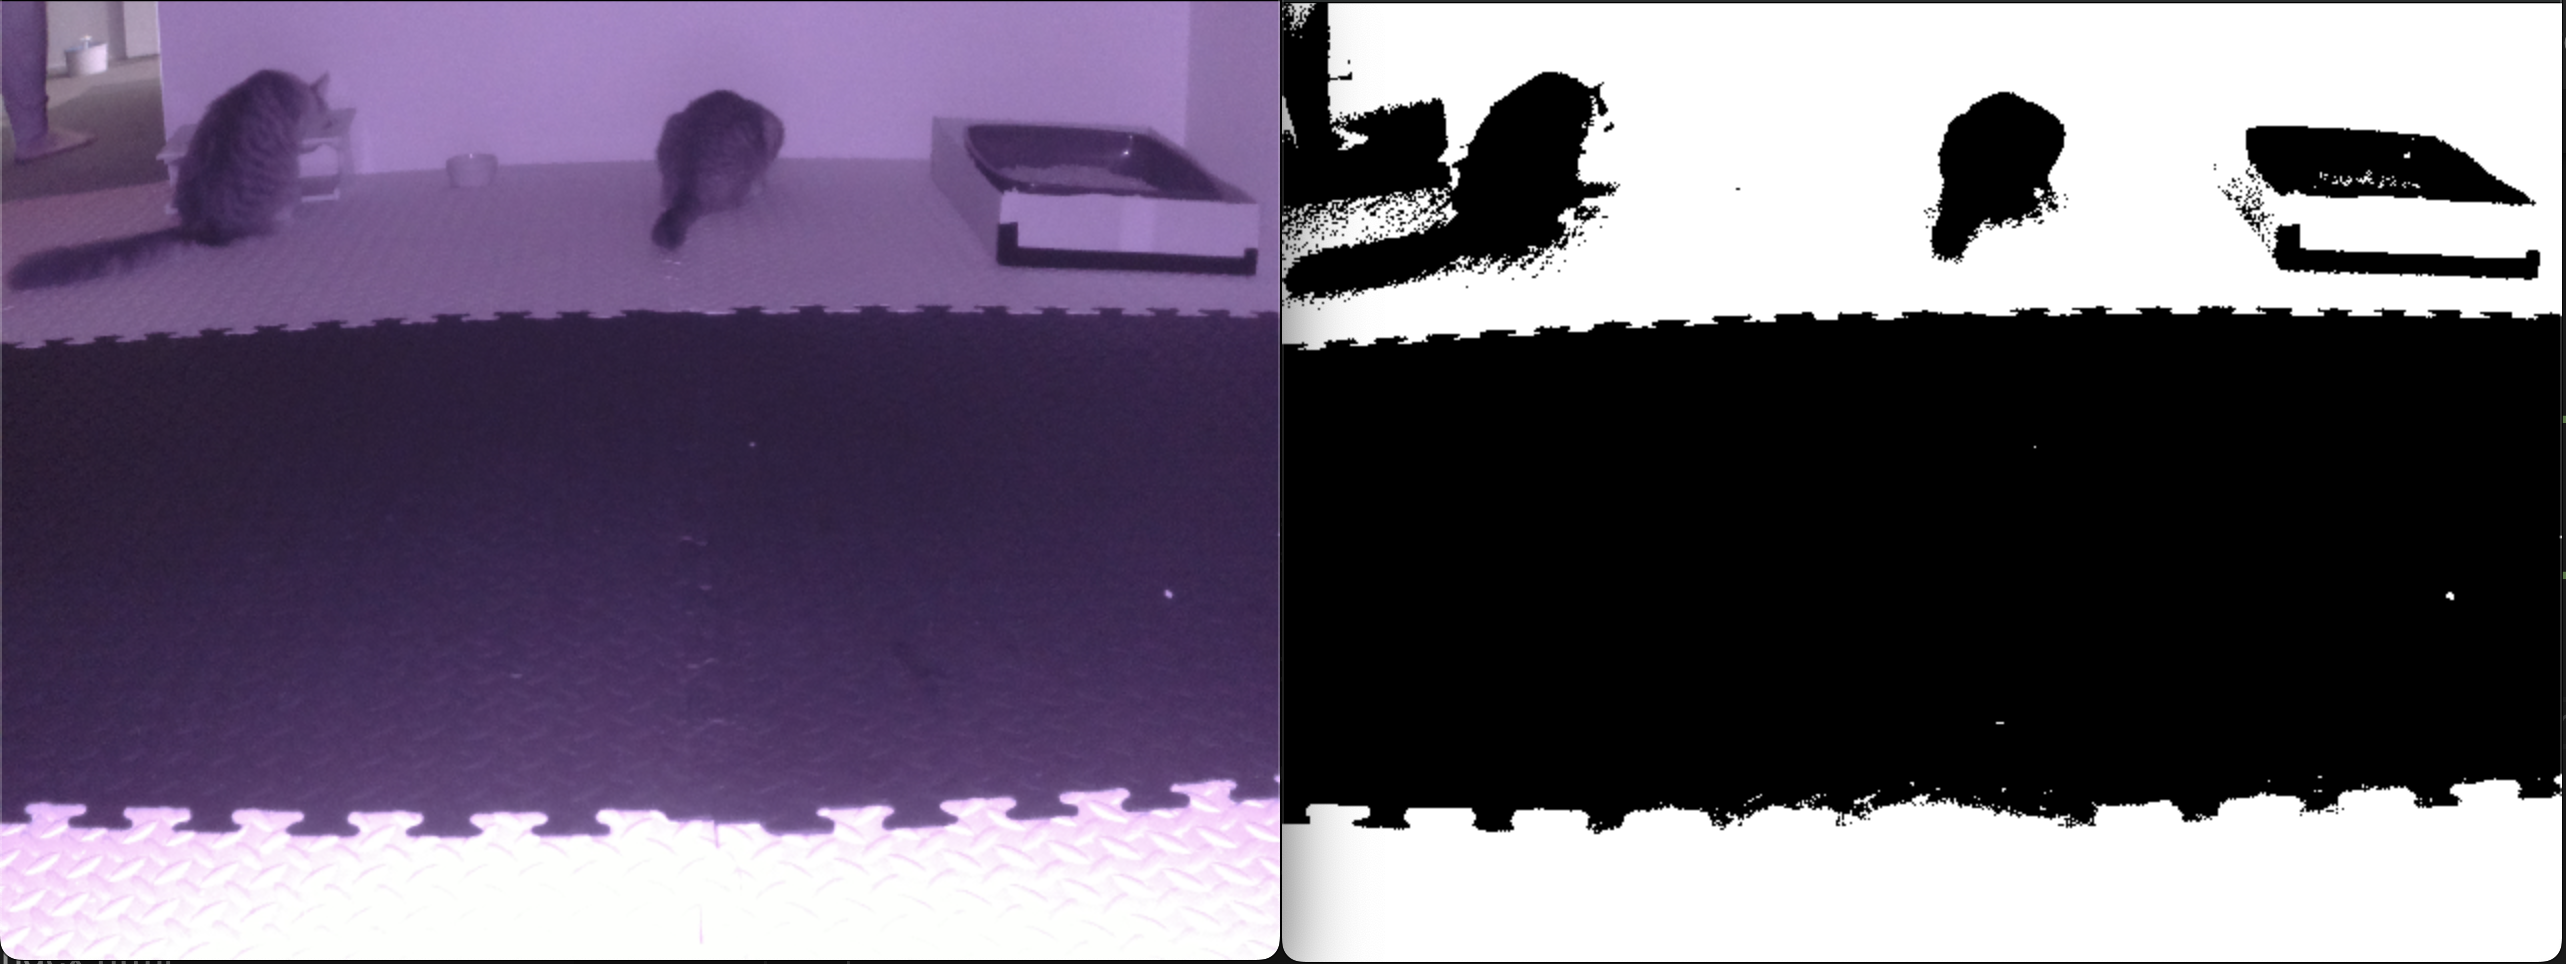
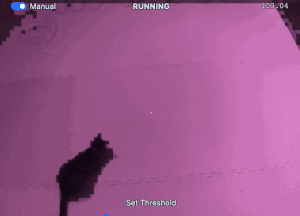
Given the hardware constraint of the Raspberry Pi Zero W2, cat detection is achieved with a thresholding algorithm.
Thresholding converts an image into black and white based on whether the brightness of each pixel is above or below the threshold.
The following image shows the threshold result next to the original image:
To simplify knowing where the lazer is pointed, the lazer and camera are moved together. Therefore, we assume that the center of the image is also where the lazer is pointing.
To make the image move away from the black pixels (which I assume are my cats), each black pixel repels the center of the image.
Repulsion is distance based, the closer that a black pixel is to the center, the more it will repel as shown by the arrows below:
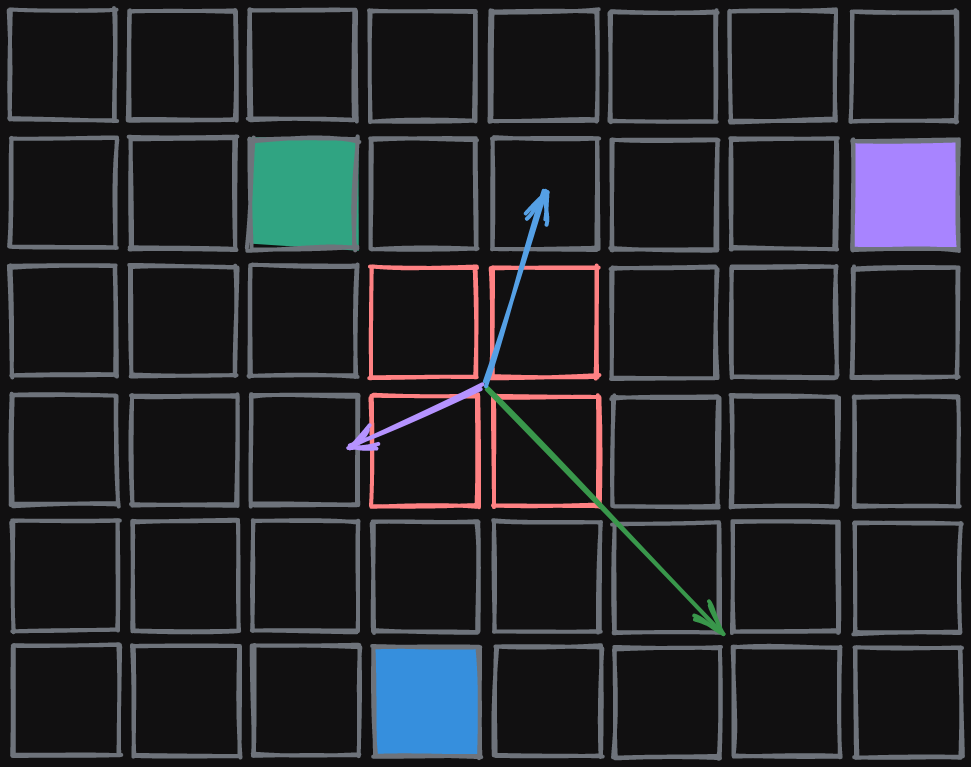
The repulsion force of an individual black pixel is:
\[\begin{align} F_x = \frac{xK}{d^3} \quad F_y = \frac{yK}{d^3} \end{align}\]Where:
- \(K\) is a repulsion constant
- \(x\) and \(y\) are pixel distances from the center of the image
- \(d\) is the pixel distance given by \(\sqrt{x^2 + y^2}\)
Three additional rules are included:
- Center pixels are excluded from the repulsion algorithm
- The lazer is only on when center pixels are white
- The image is downsampled before thresholding for performance
The result of downsampled thresholding can be seen here, where the pixellated black pixels show what areas the controller will avoid.
Software
The lazerpaw repo is publicly available on github.com/hoani/lazerpaw.
Simulation
I wrote a simulator to test the controller and give me something to use when building the client UI.
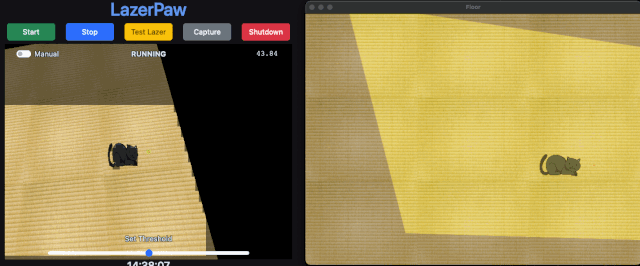
The simulator draws a top down “truth” view of a floor. This is the view on the right.
It then takes a projection on the drawn floor and uses it as input to the camera; which is being streamed to the client UI on the left.
The camera projection isn’t perfect; but its good enough.
User interface
I wanted to be able to use the lazer turret in two ways:
- In the living room, by pushing a button to start
- In my office to play with the cats from across the house
I prefer the second option the most, because I can see what the turret is sensing and predict where it will go next.

The Raspberry Pi is running a flask server, which serves up a 30fps camera feed and a 30fps pixel grid which indicates which pixels the control algorithm is trying to avoid.
The pixel grid is overlaid on top of the live feed, and then some controls are placed around it.
Elements like “test lazer”, the “manual” switch, and “Set Threshold” are used to calibrate the turret.
Usually, only the “start” and “shutdown” buttons will be used since the lazer game will stop on its own after two minutes.
LED Driving
The LEDs are a strip of WS2812, which are commonly branded by Adafruit as NeoPixels.
I reused the github.com/hoani/serial-pixel library that I built during my chatbox project.
Demonstration
This is the lazer turrent playing with two of our cats on the first night it got installed.
Two things I learned when trying this out with my cats were:
- the thresholding algorthm is surprisingly good at detecting which areas have a cat in it
- my cats don’t really care if the algorithm is perfect or a bit dumb, they just like chasing the lazer
If you got this far, thanks for reading and I hope this project gave you some cool ideas for your next build.